Nothing says summertime like fried sockeye, and July is Ha’lila̱x simisoo [ha/’li/la̱x/si/mi/*soo] – the time to harvest sockeye salmon ! We processed our fish in the last week of July, but we bought a house (woohoo) and didn’t get a chance to finish our blog until today!
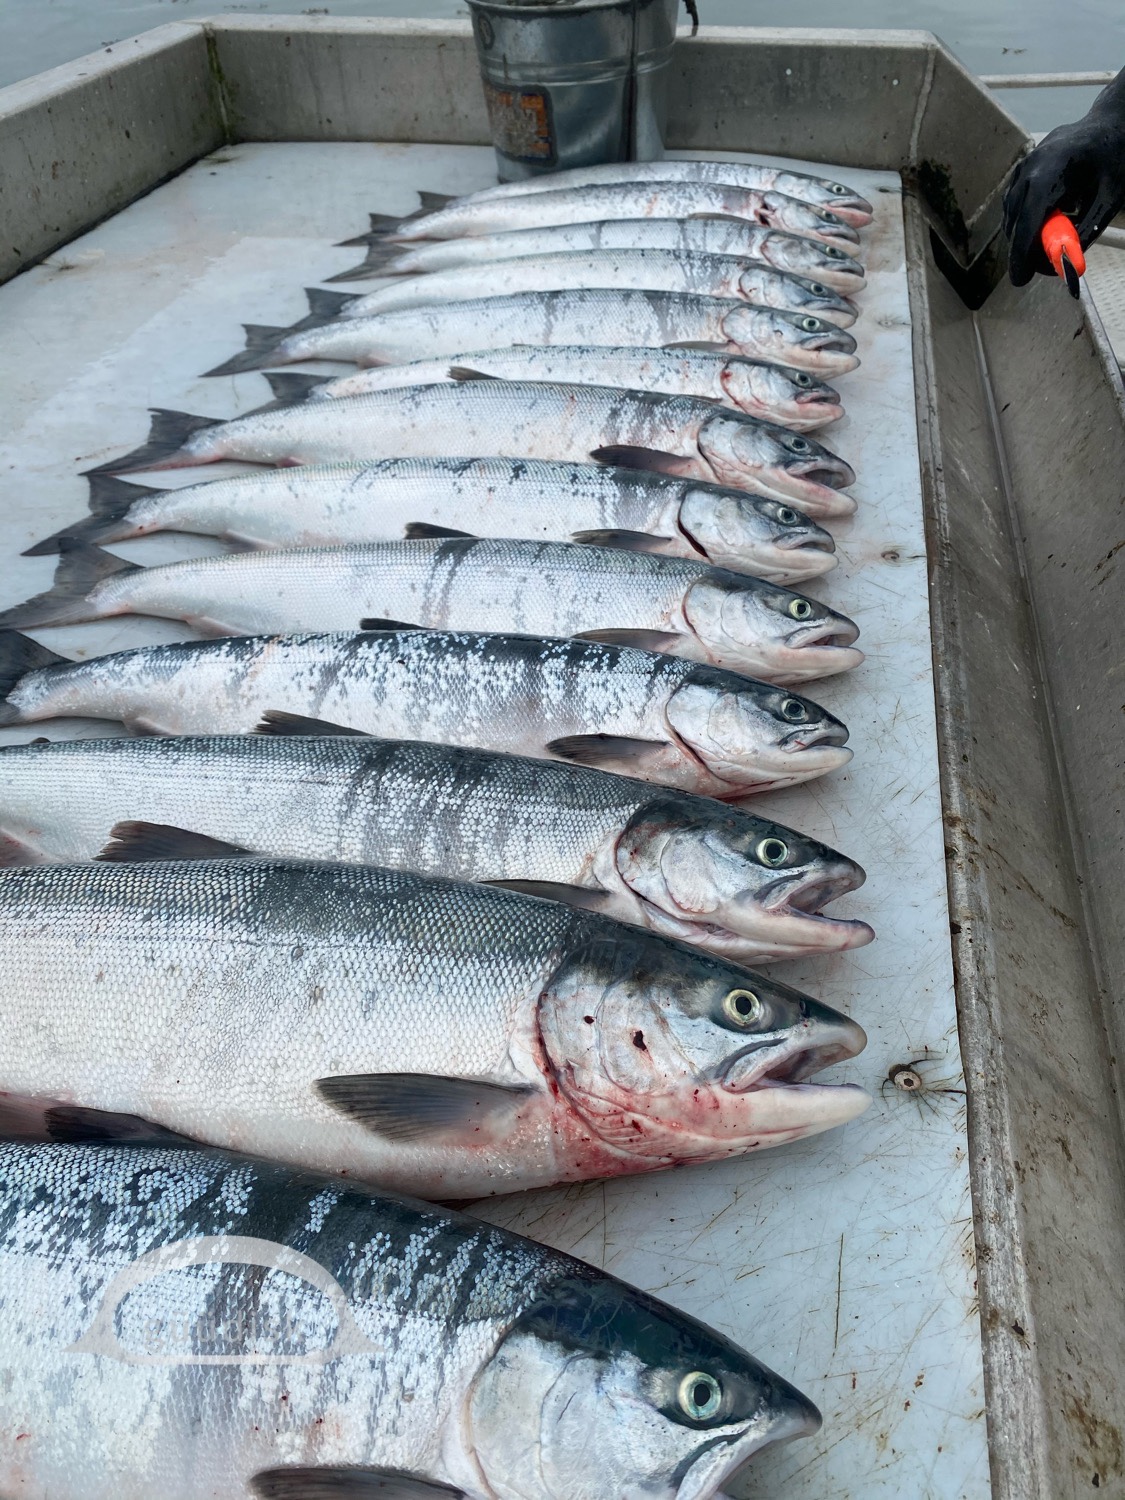
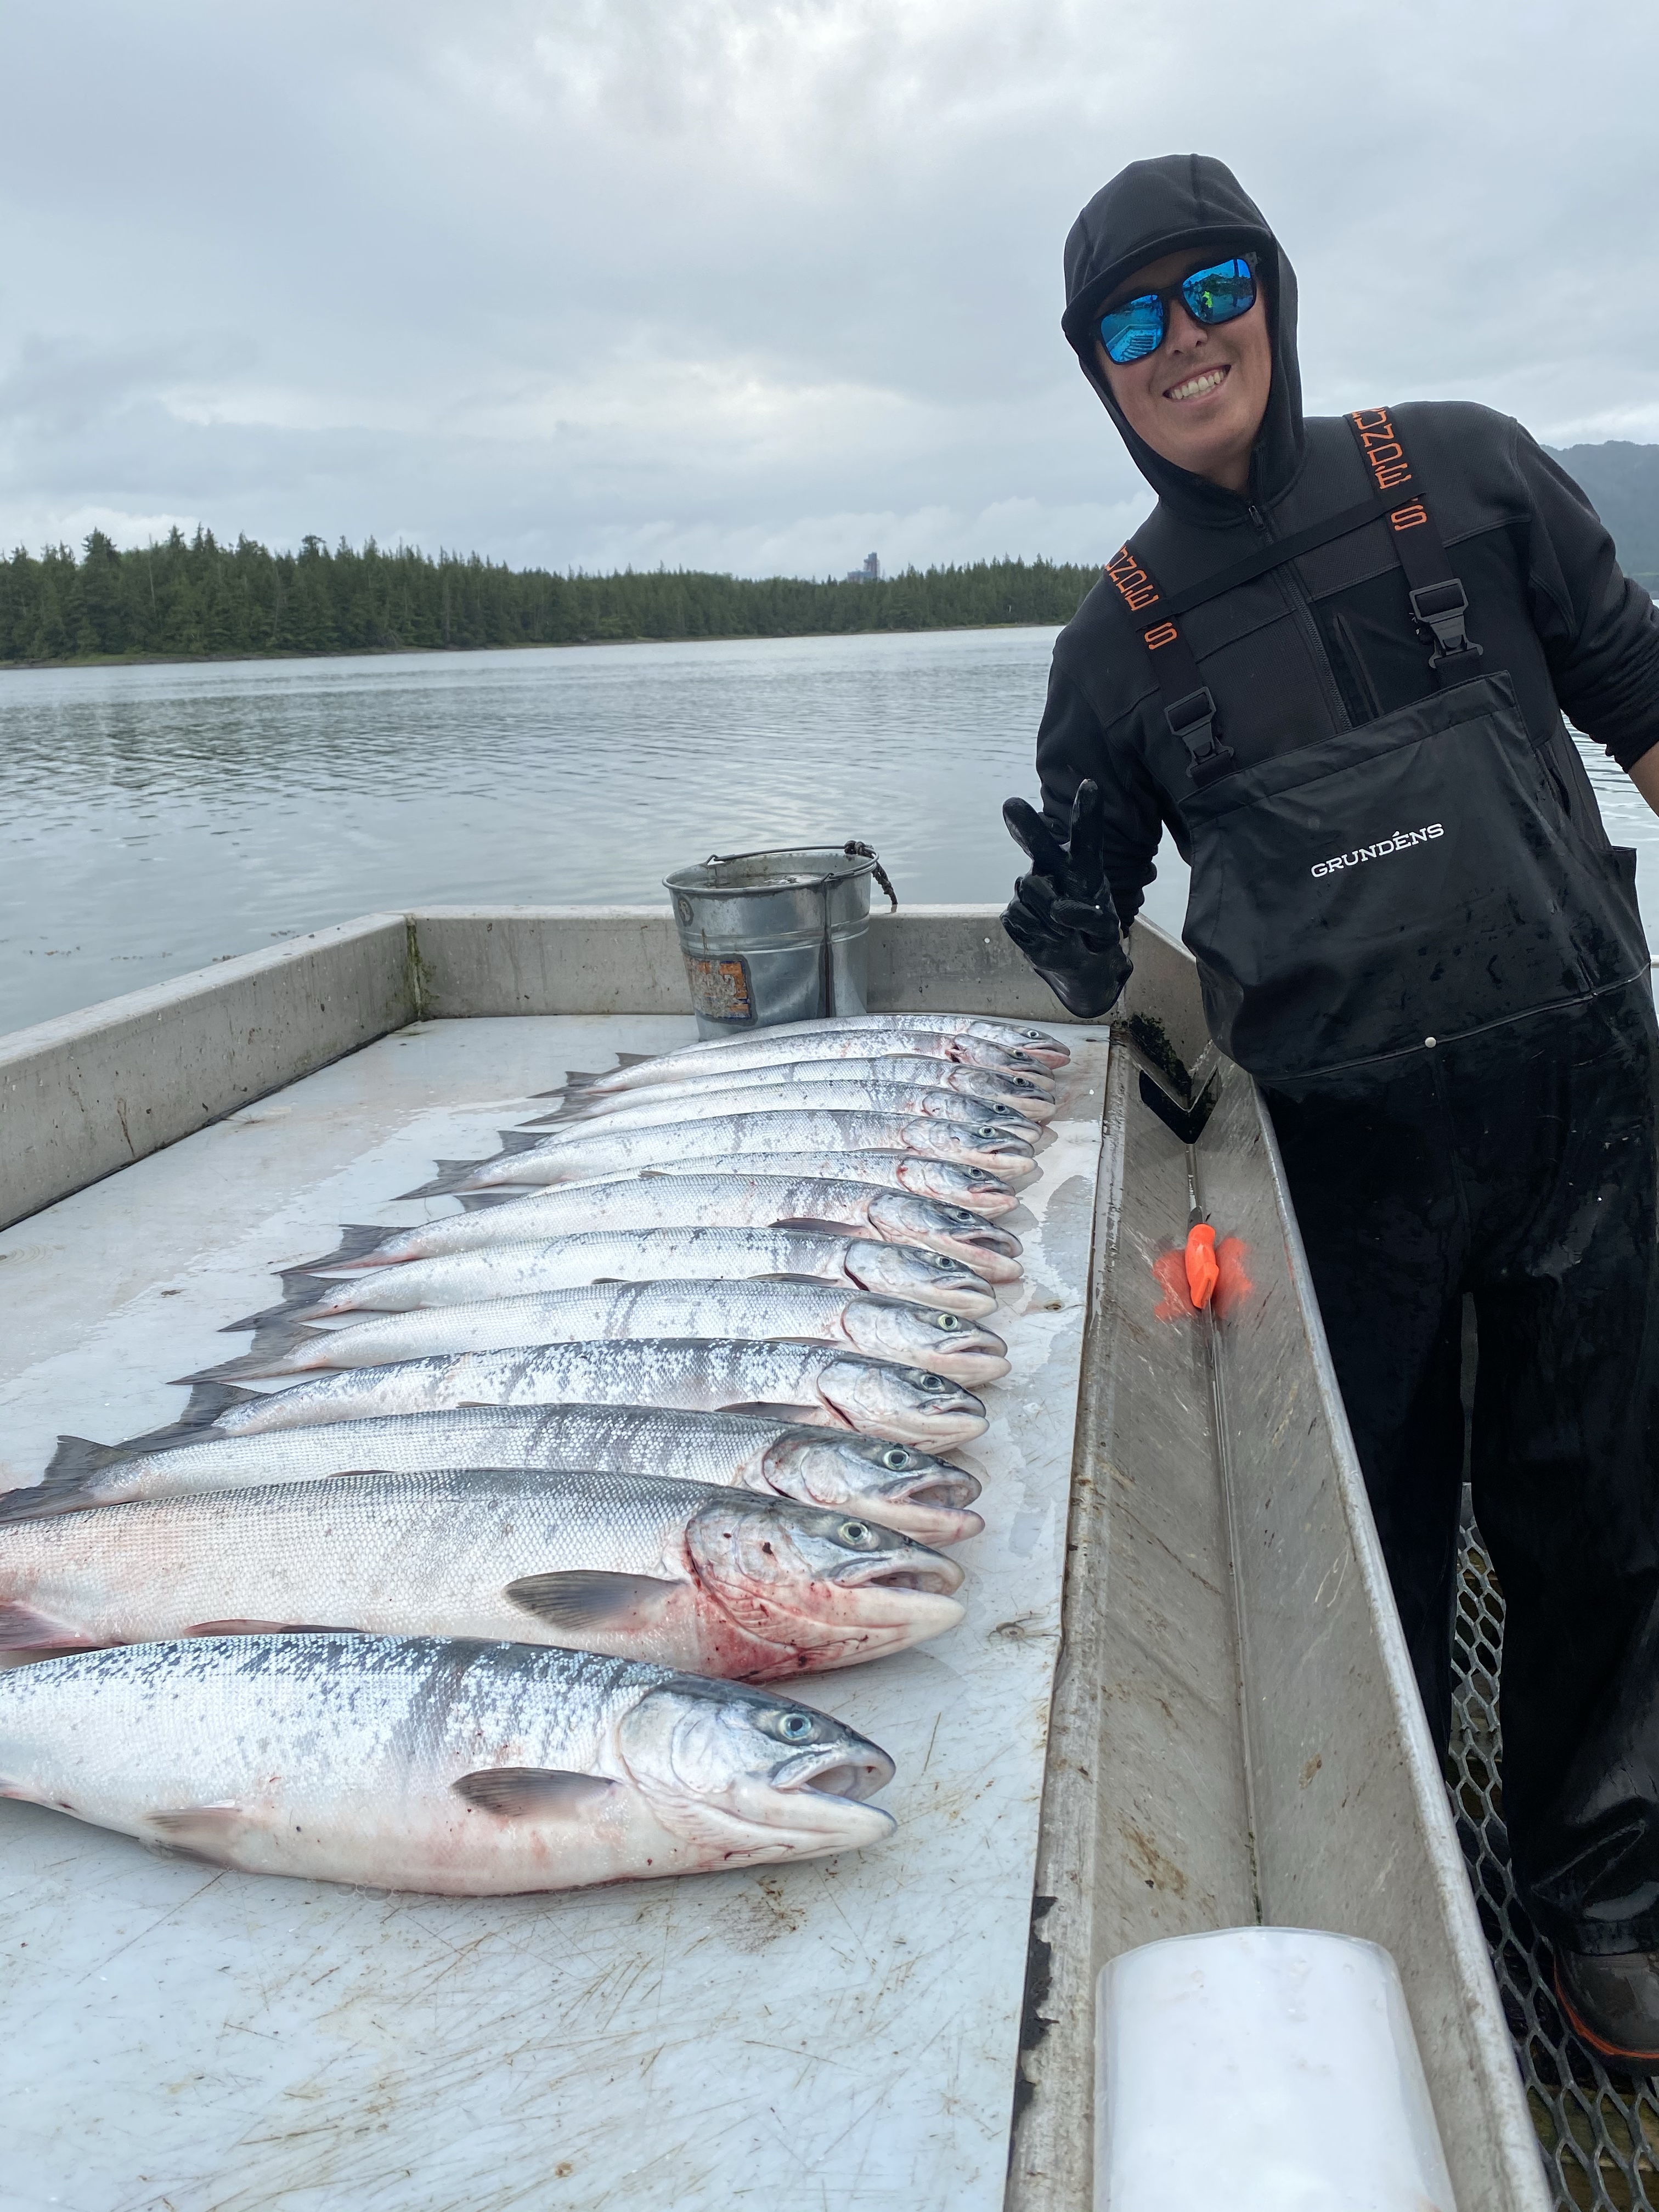
Misoo [mi/*soo] is the Sm’algyax word for sockeye , a bright red fleshed salmon species, that can be found travelling up the Ksyen (Skeena River) and Kluusms (Nass River) from late June until early September, but the peak run is in the mid to end of Ha’lila̱x simisoo (July).
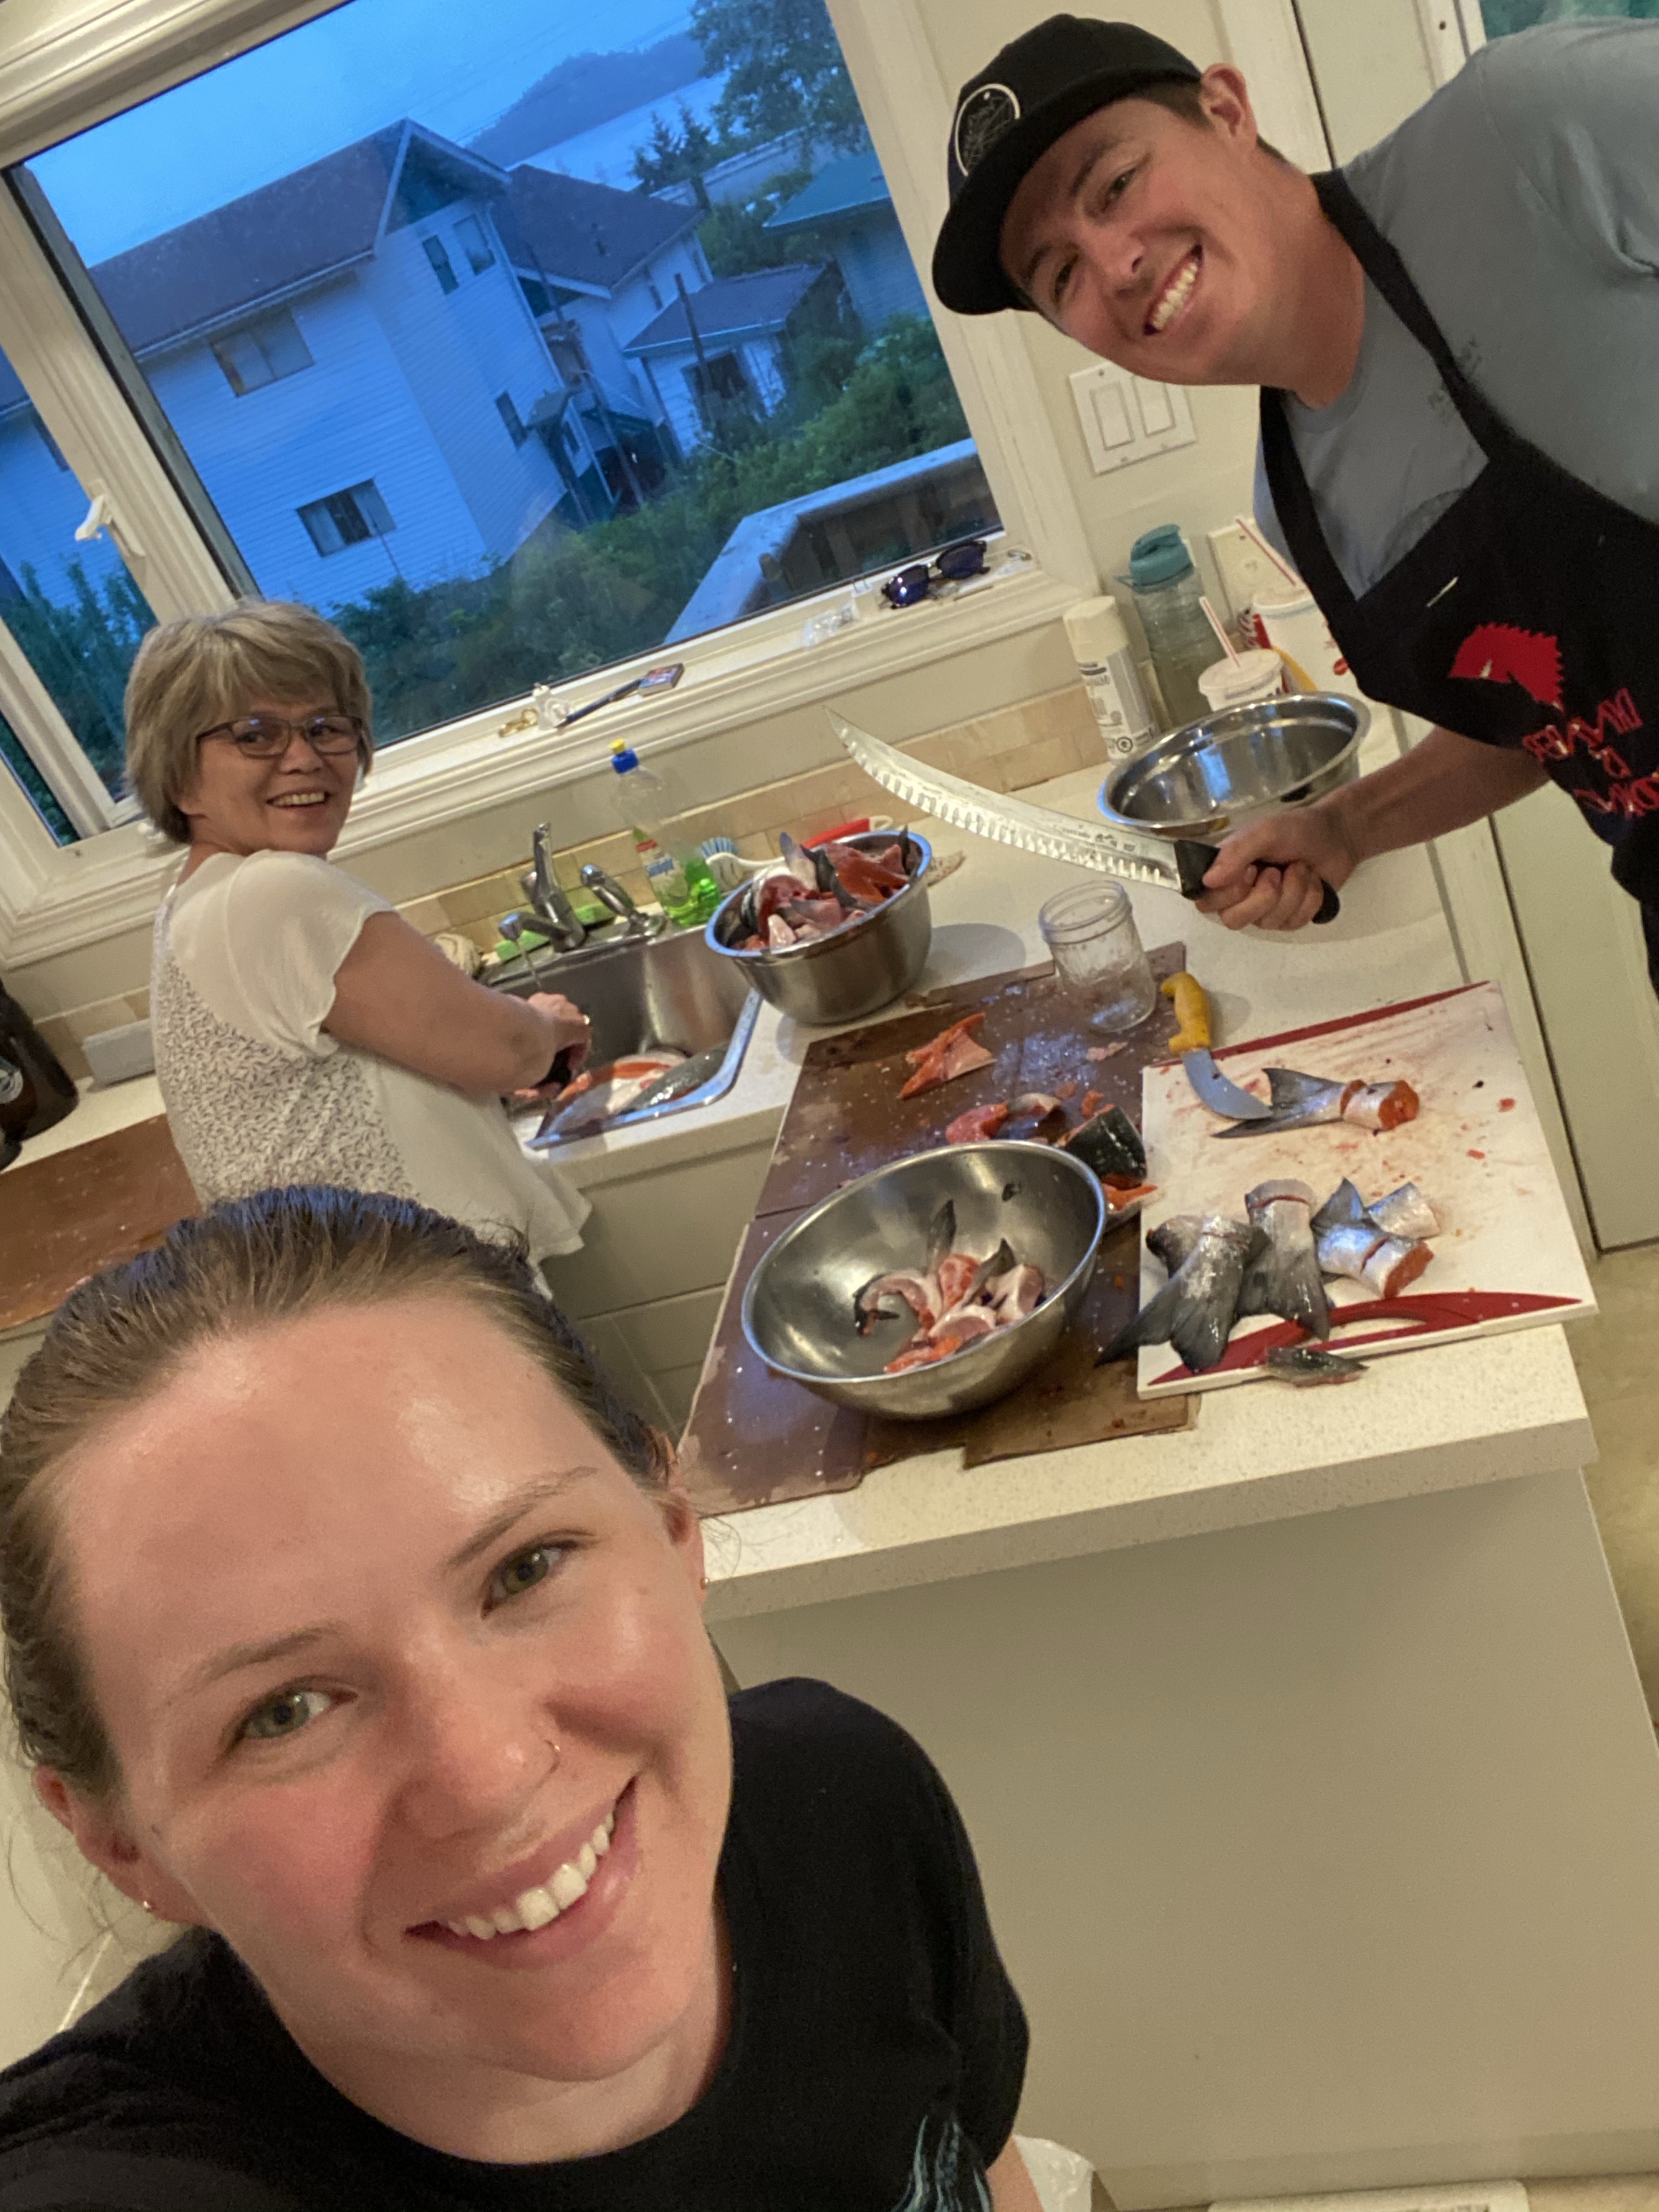
Processing misoo is a full family affair – an all hands on deck kind of deal. At a very minimum you’d need two people, but some families process multiple-families-fish all at once.
Below are estimates of how much fish you’ll need per case of jars (12 jars to a case). These are based on Skeena sockeye – Nass sockeye are a little bit bigger, and other species of salmon also vary in size. The average Skeena sockeye is 3-4 lbs dressed, while the average Nass sockeye is approximately 5 lbs dressed.
For a case of pint jars (500 ml), you’ll need approximately 4-5 fish per case.
For a case of 1/2 pint jars (250 ml), you’ll need approximately 1.5-2 fish per case.
For a case of quart jars (1 litre), you’ll need approximately 9-10 fish per case.
This is the method that my mom, Jennifer Sampson, taught me for preserving fish.
1. Make sure your fish are iced and in a cool place out of the heat. You don’t want the fish to warm up, otherwise the meat will lose its firmness.
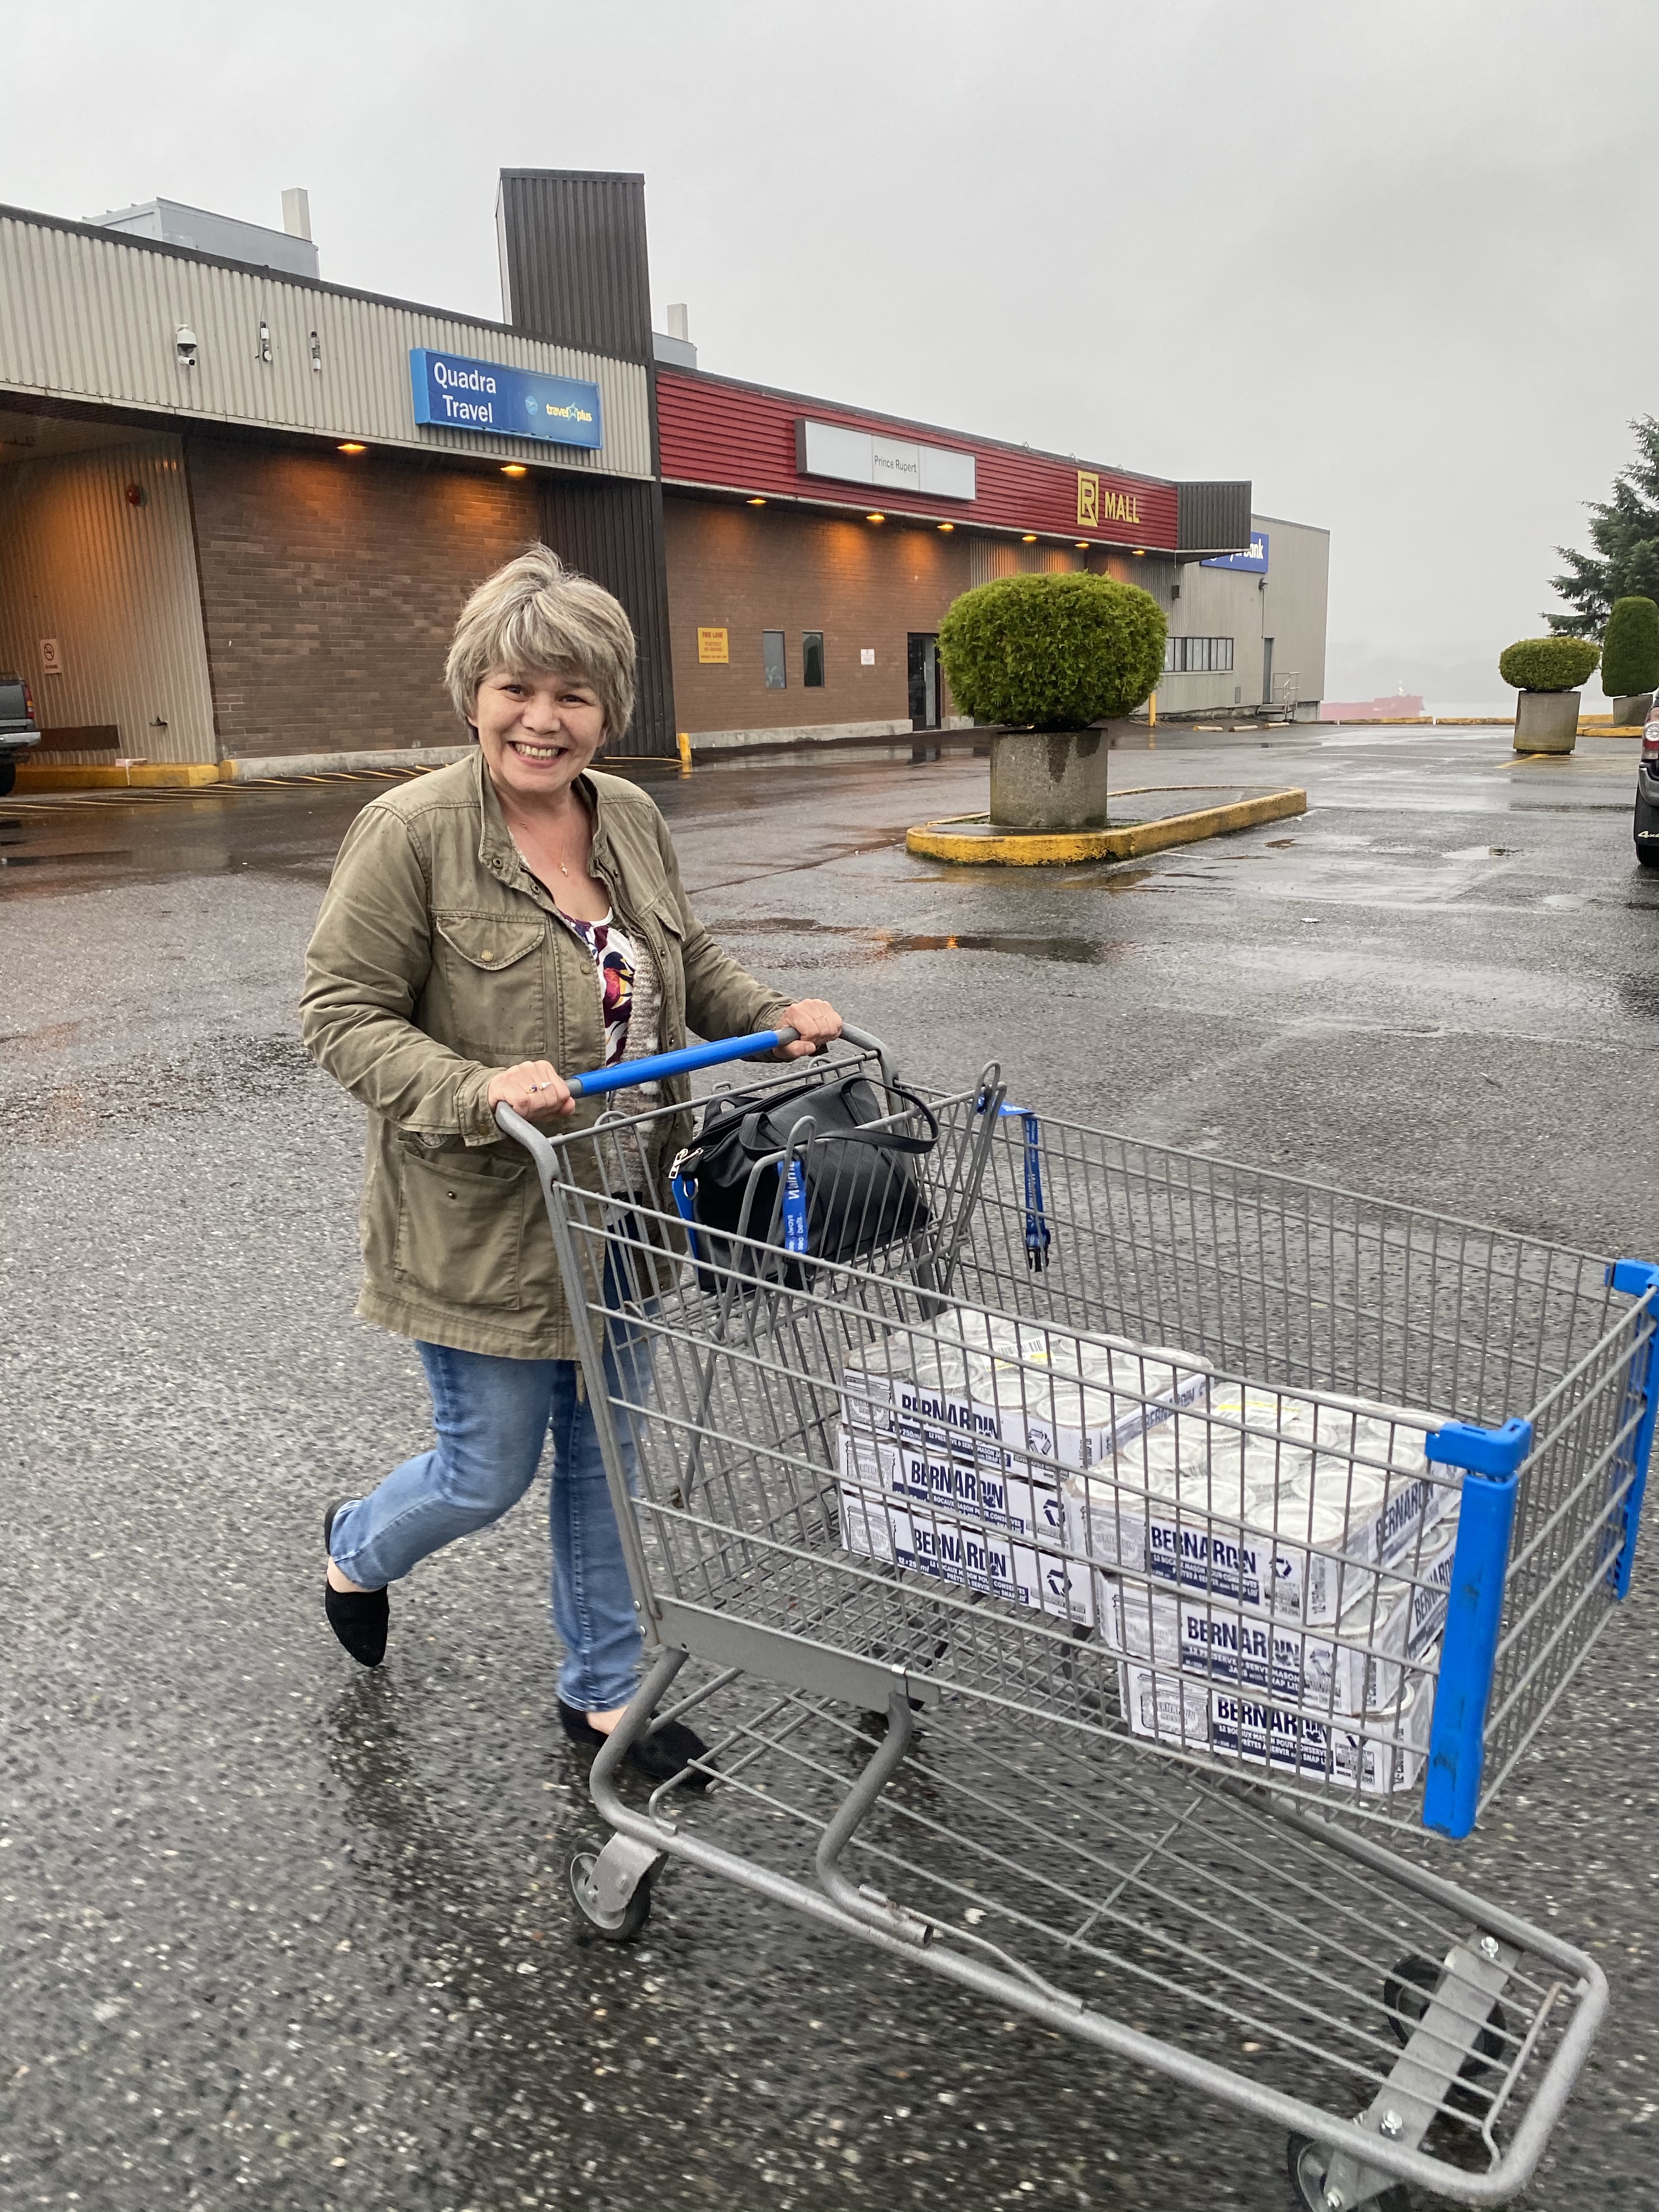
2. Prepare your jars. If you have a brand new case of jars, you don’t need to wash and sanitize them. If you’re reusing jars, you’ll need to clean them (hopefully they were properly cleaned from the last time you used them) and sanitize them in the dishwasher. Alternatively, you can bake them in the oven for 10 minutes at the lowest setting (Steve’s family method).
3. Salt! Very important – mom puts her salt in the bottom of the jars so that when the fish is cooking it penetrates the fish from the bottom to the top.
Pints – 1/2 teaspoon of table salt;
1/2 pints – 1/4 teaspoon of table salt;
Quarts – 1 teaspoon of table salt.
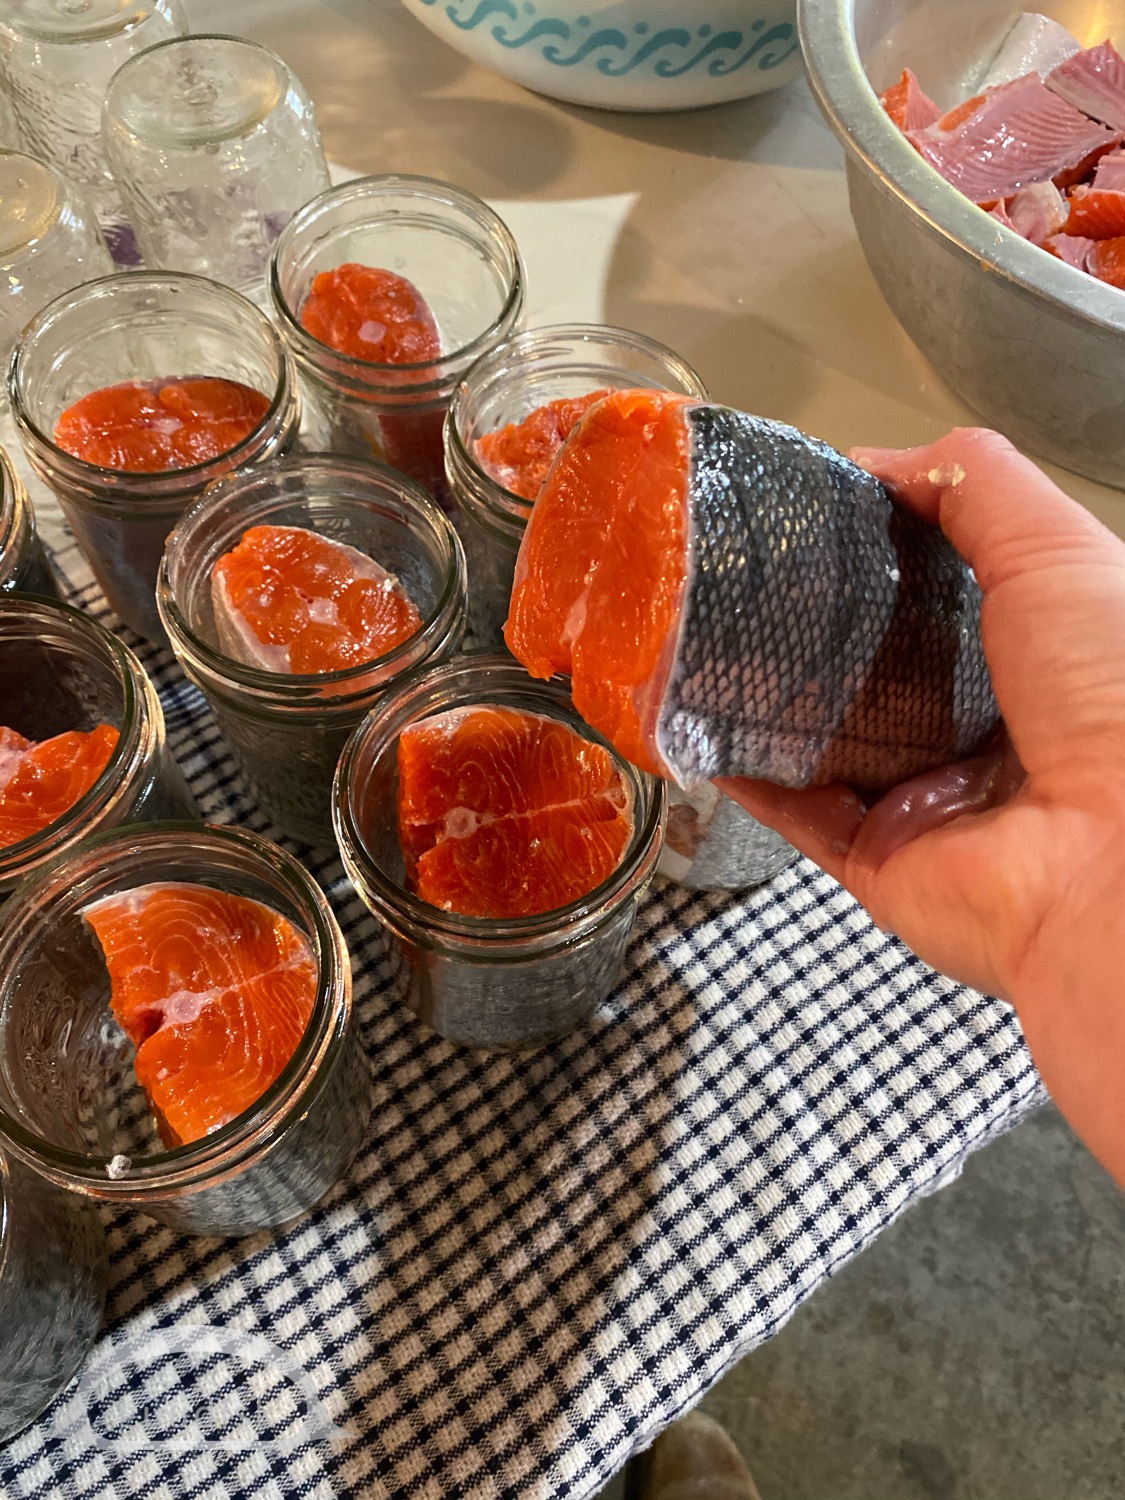
4. Clean your fish – gut the fish, and take out any stomach lining that may still be attached to the rib cage, or gills still attached around the collar (Steve says this makes the meat go bad faster). Rinse out any blood you see in the body cavity. Mom doesn’t like ANY blood in her jars.
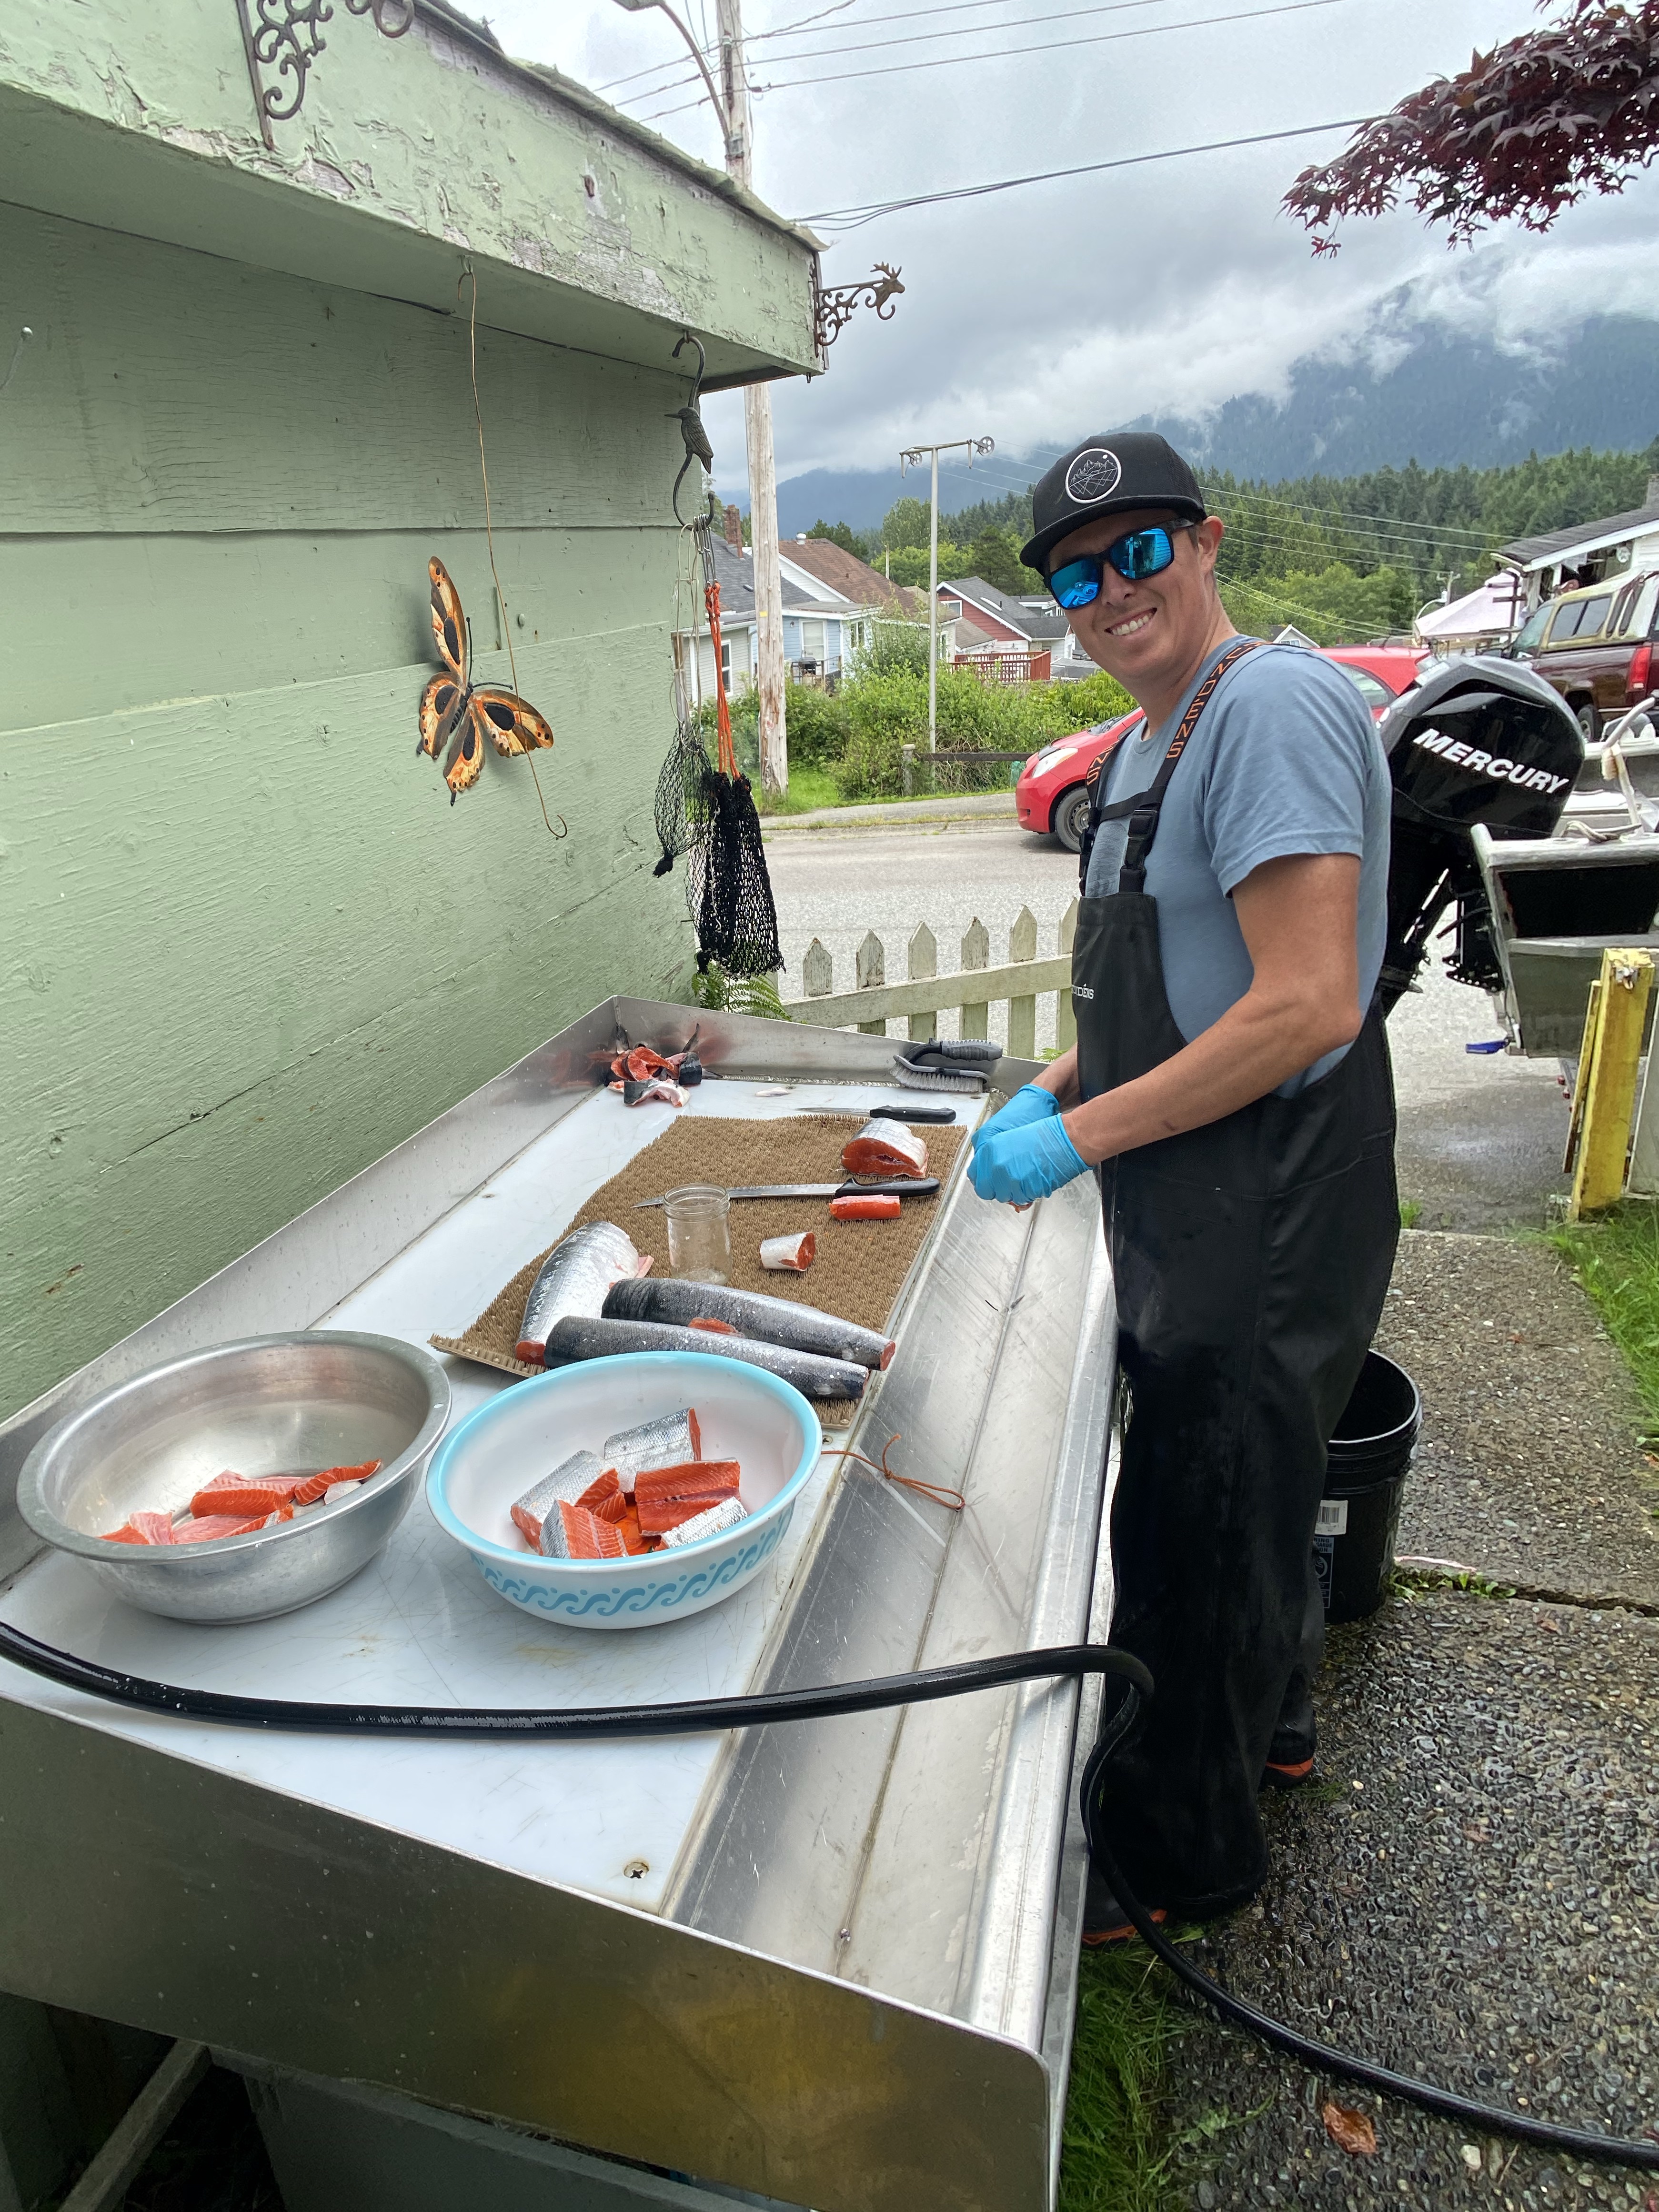
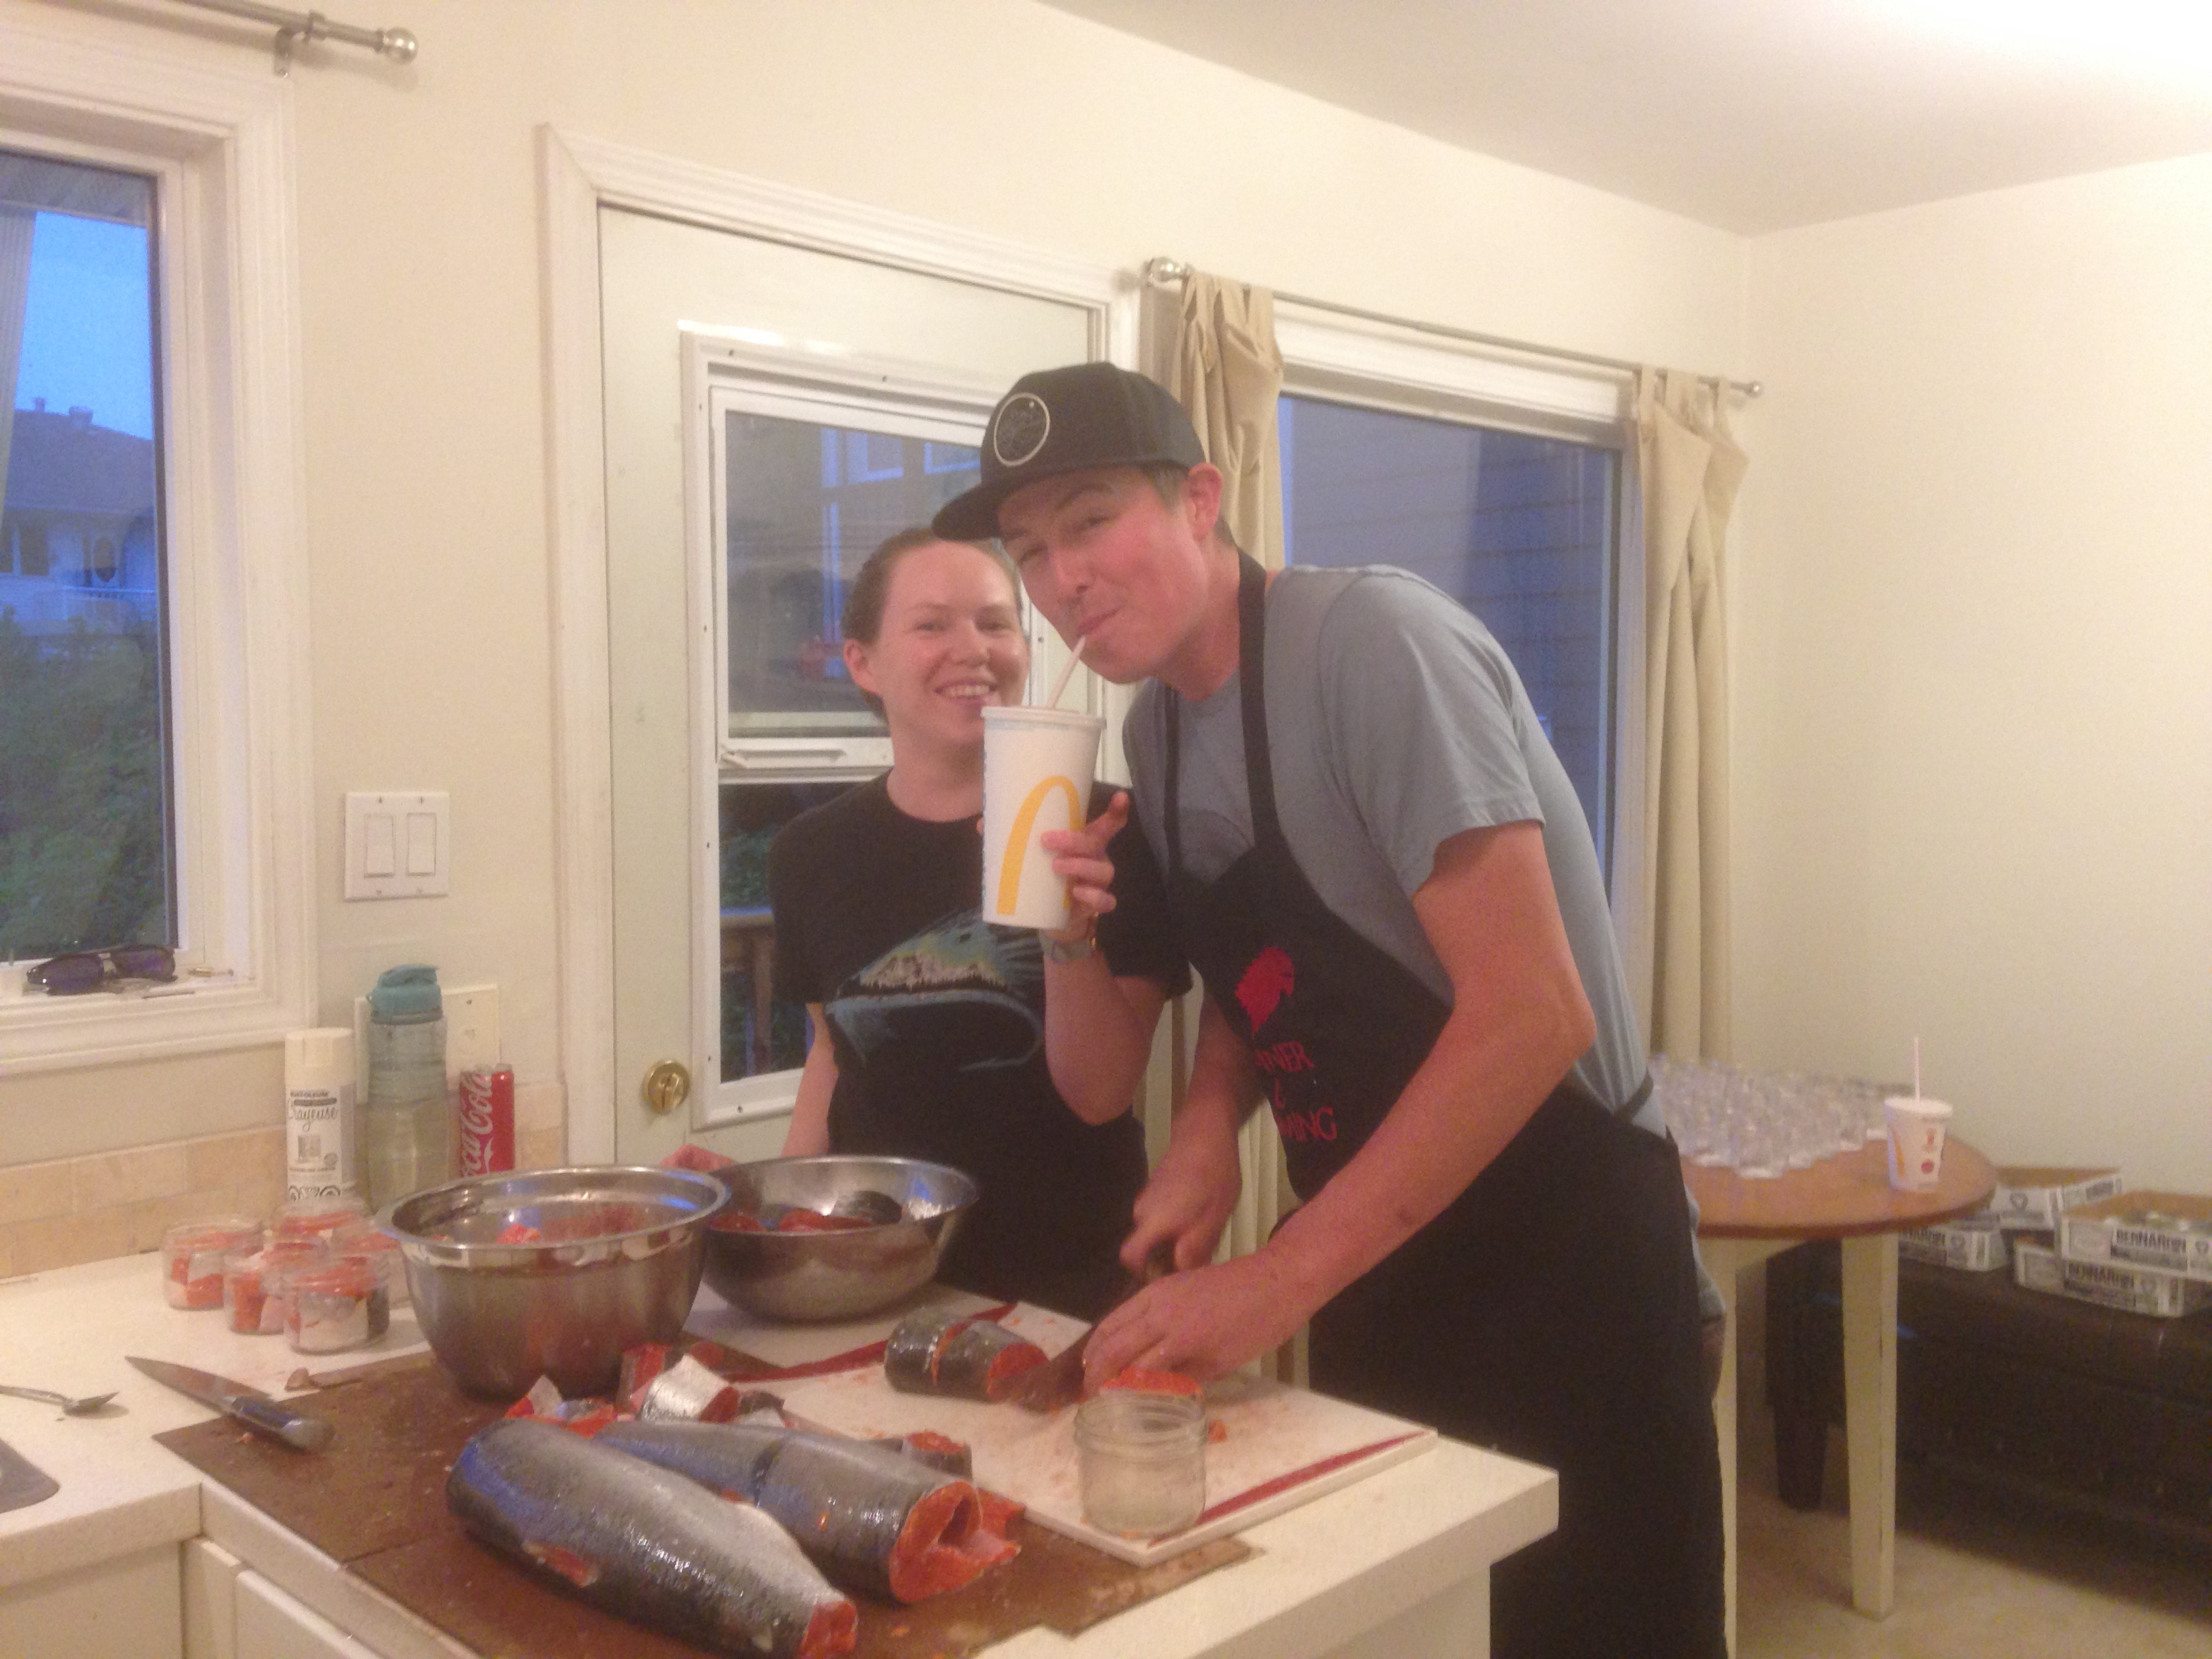
5. Cut off the fins (dorsal, pectoral, pelvic, anal and adipose fins), cut off the head and collar (collar could be saved for txadzemsk – boiled fish ) and cut off the tail piece. You can also cut a notch in the tail, to improve your grip on the fish.
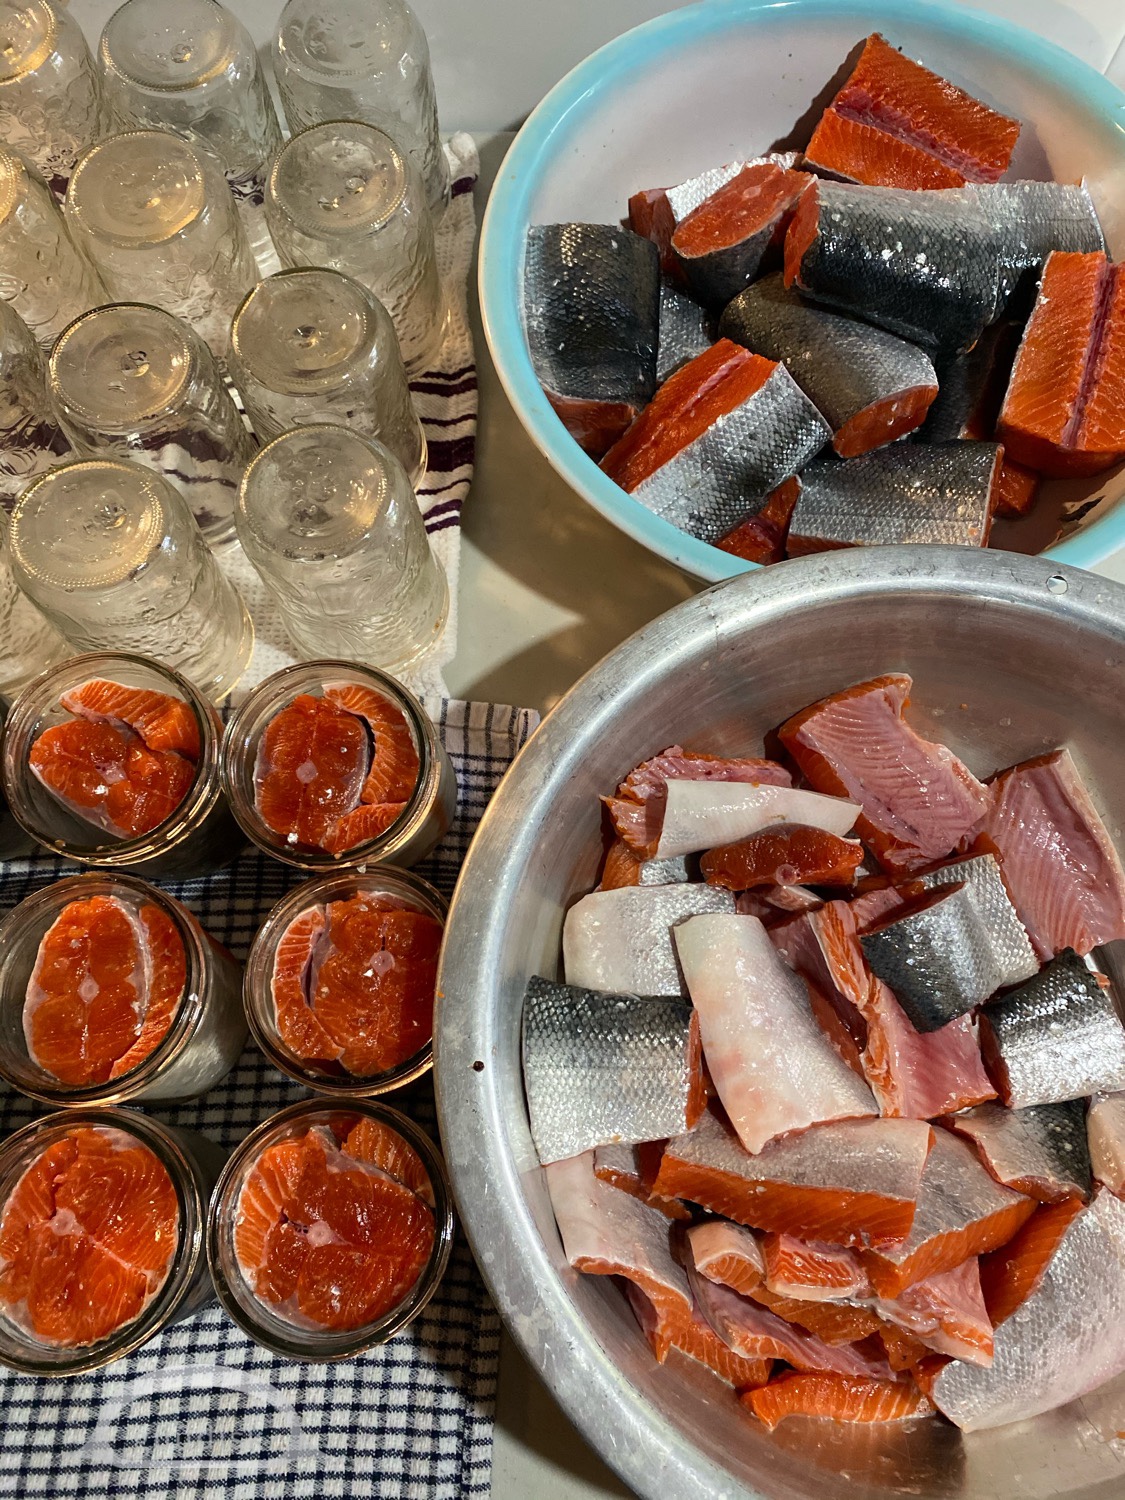
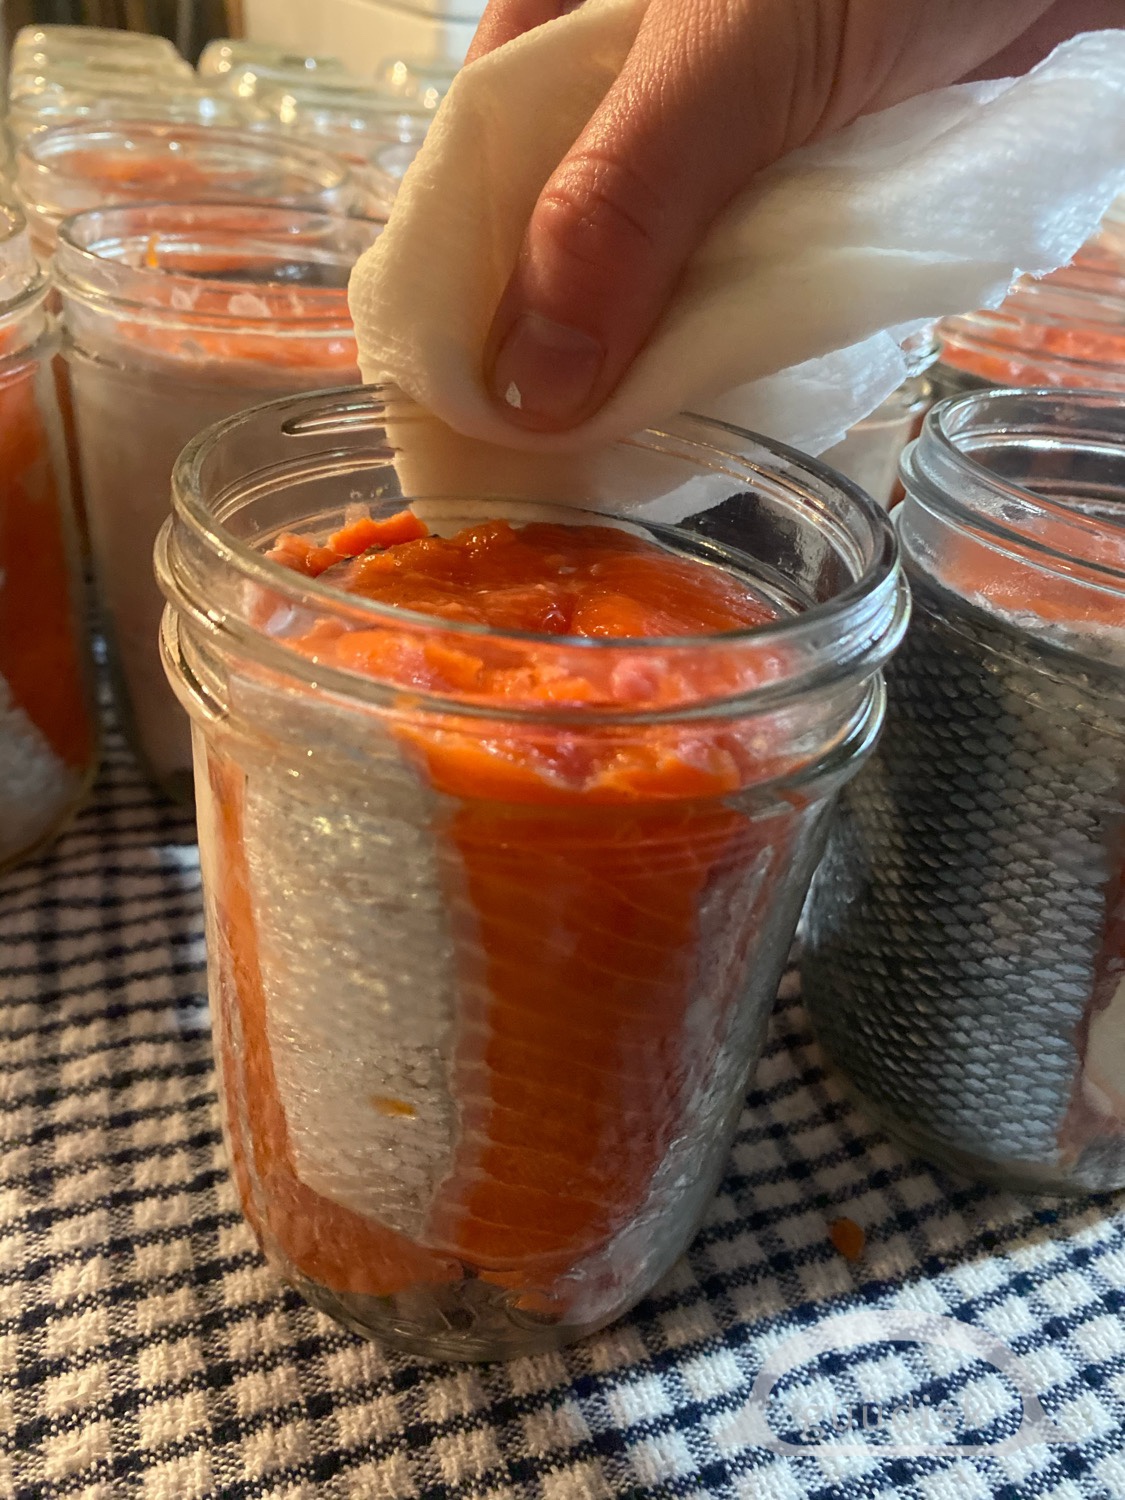
6. Measure you fish to fit in the jar. We actually use a jar as a measuring tool. Be sure to measure the fish so that it sits below the lowest line of the threads. Mom says if the fish sits above that line, then there is a chance the jar won’t seal. Fit the body of the fish into the jar, and use the extra belly pieces as filler.

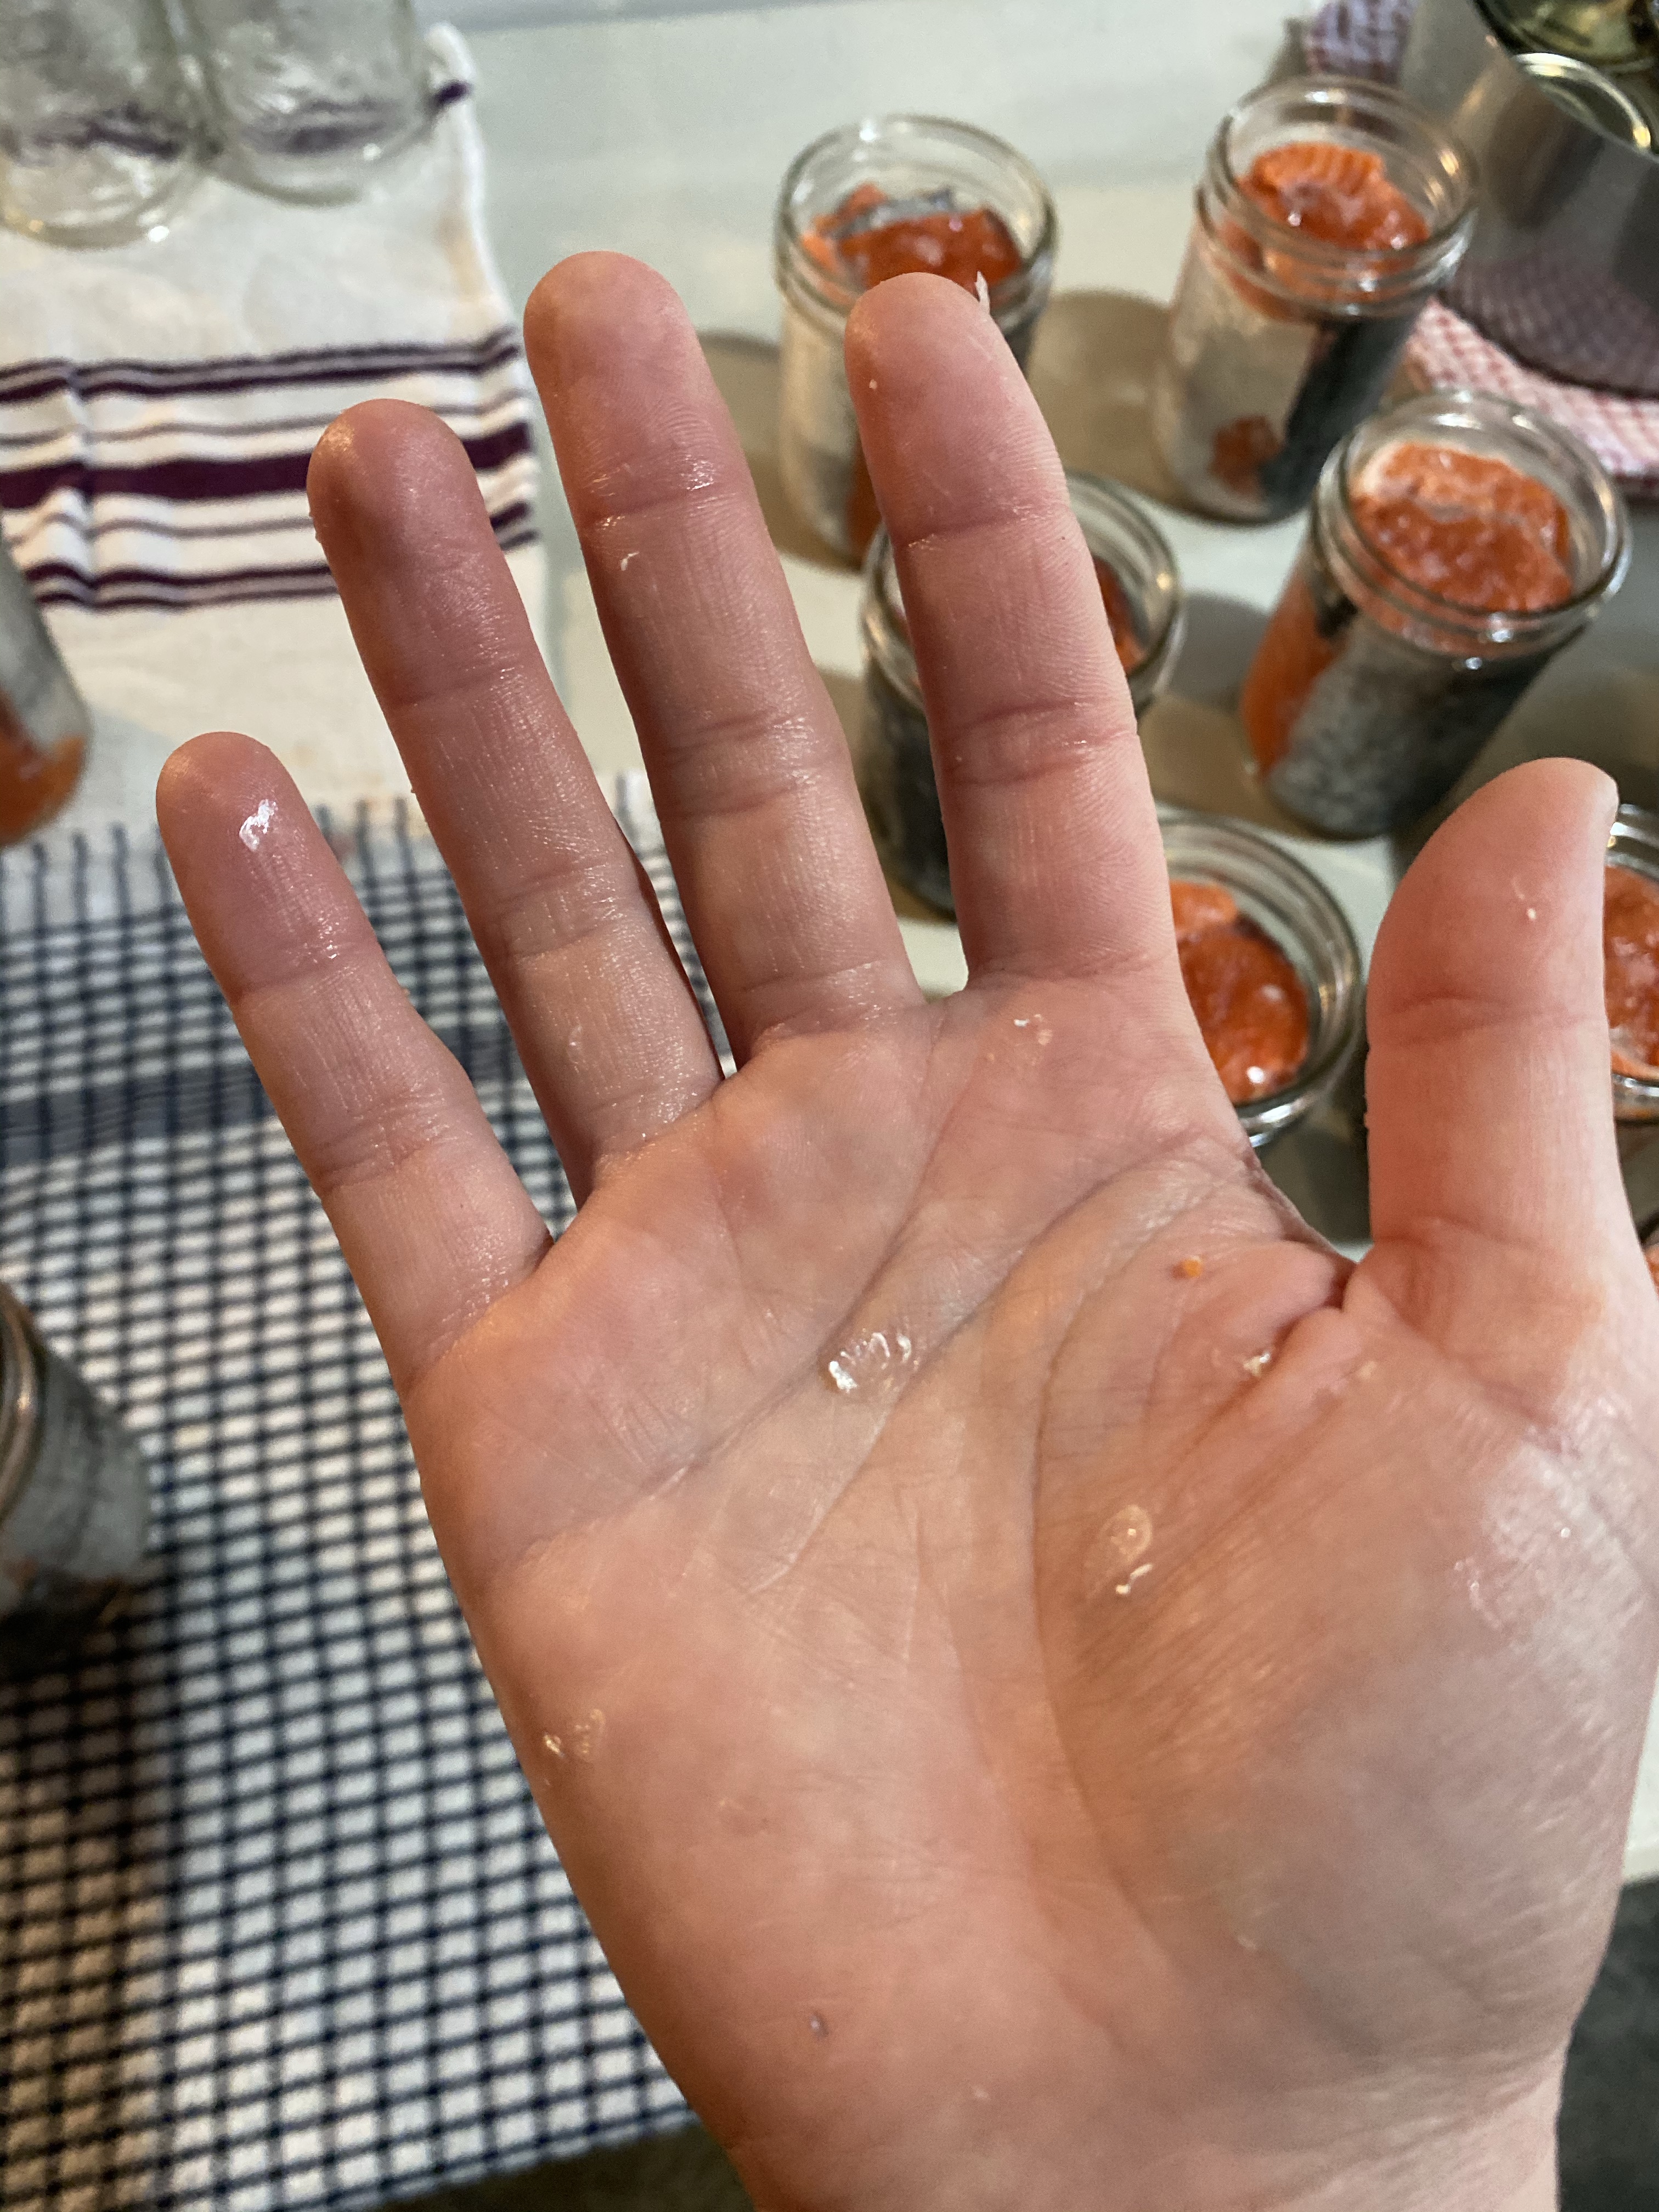
7. Once the jars are filled, wipe the jar rims with a damp cloth or paper towel. You don’t want any scales or fish goo on the rim – this can prevent the jars from sealing.
8. Warm up the lids in a pot of water on the stove. Do this by putting the pot on high heat until the water is almost boiling. Then you can turn the water down to 2-3 so that it is a slow simmer. This just heats up the seal on the lids. Steve puts the lids in the water seal-down, so it’s easier to grab out of the water.
9. Place the lids on the cleaned jars, followed by the rings (if you’re reusing rings, they should be cleaned beforehand). The rings should go on just finger tight. Don’t tighten the rings too hard or else jars won’t seal properly.
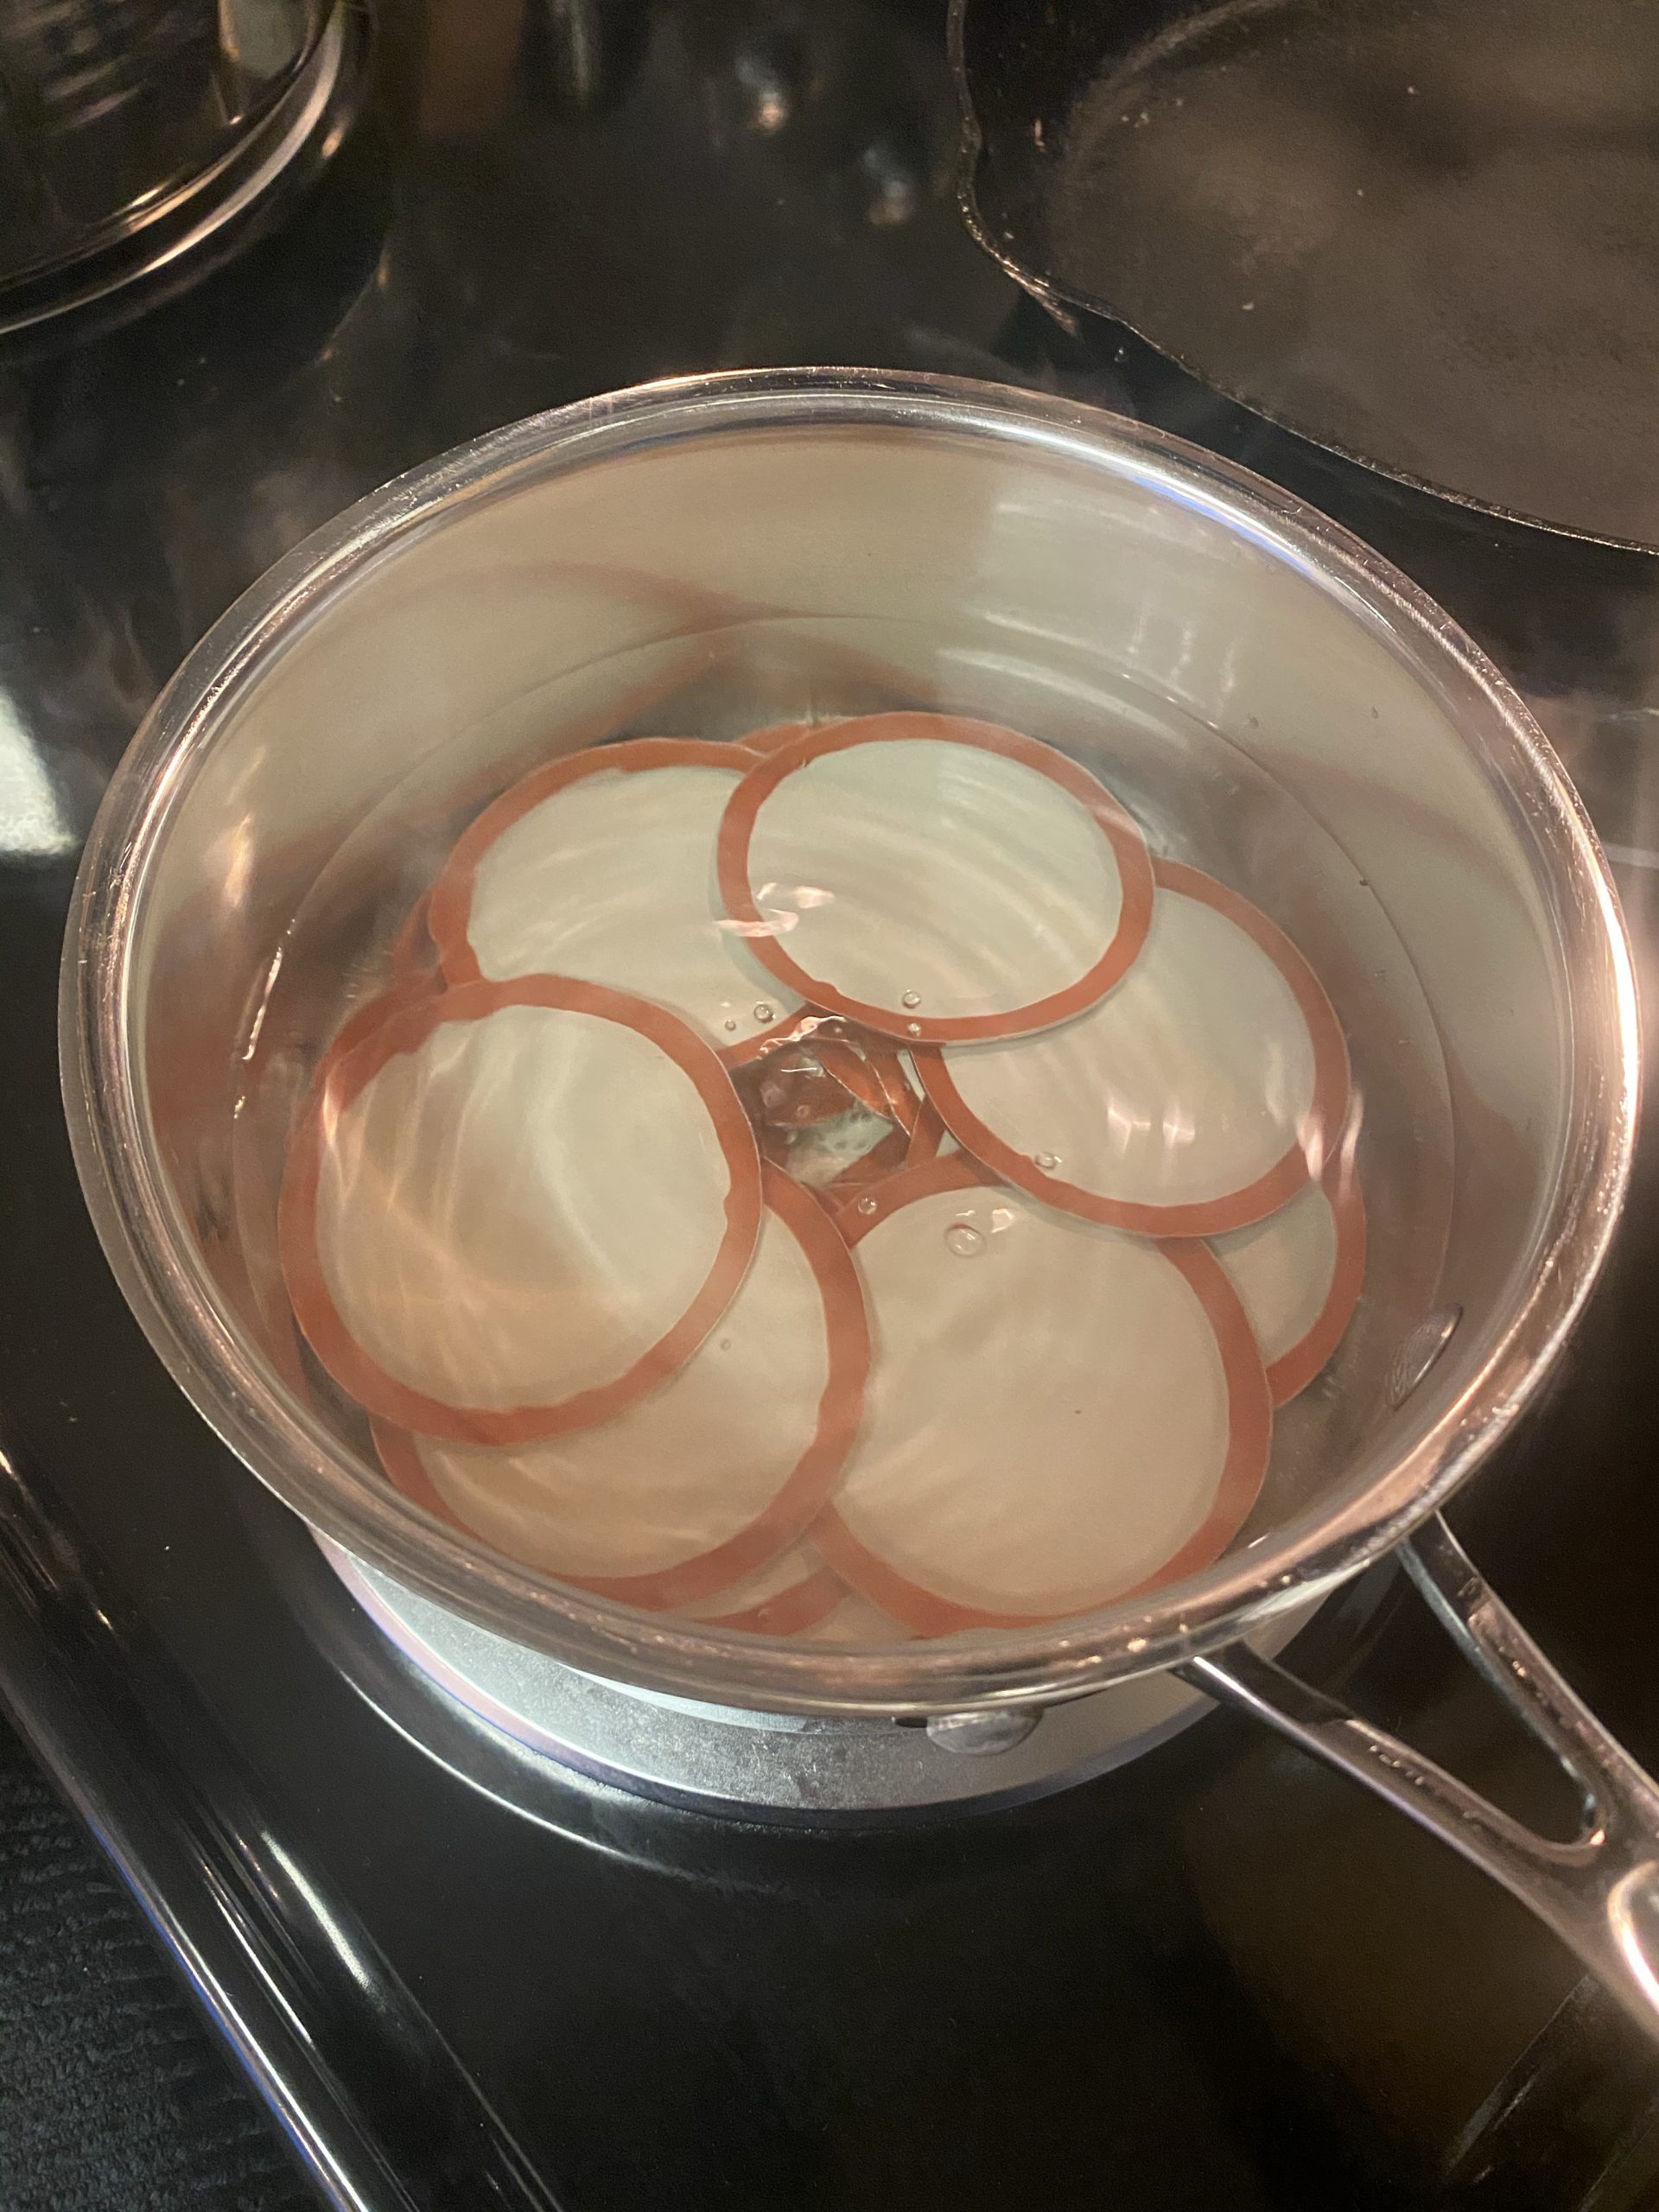
You can buy a magnetic lid grabber in the canning section of the store to take the lids out of the hot water. The magnetic grabber makes it way easier to take out the lids!
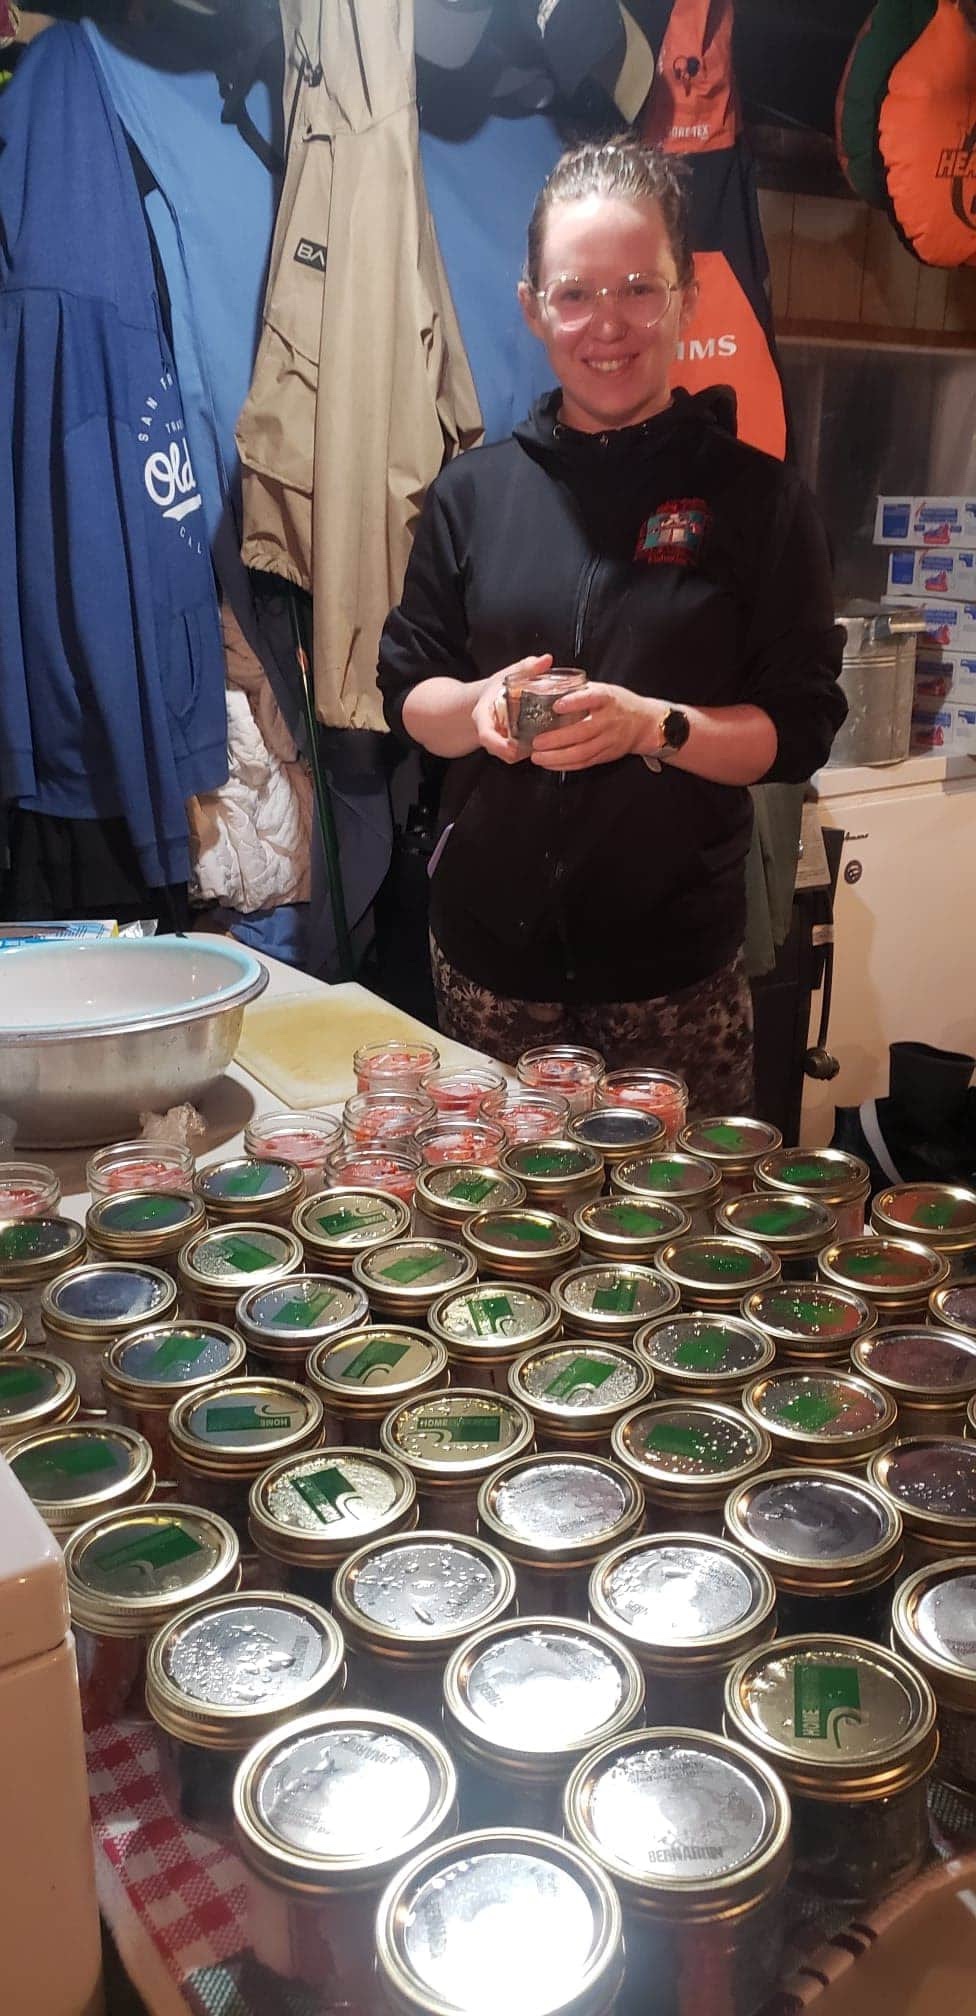
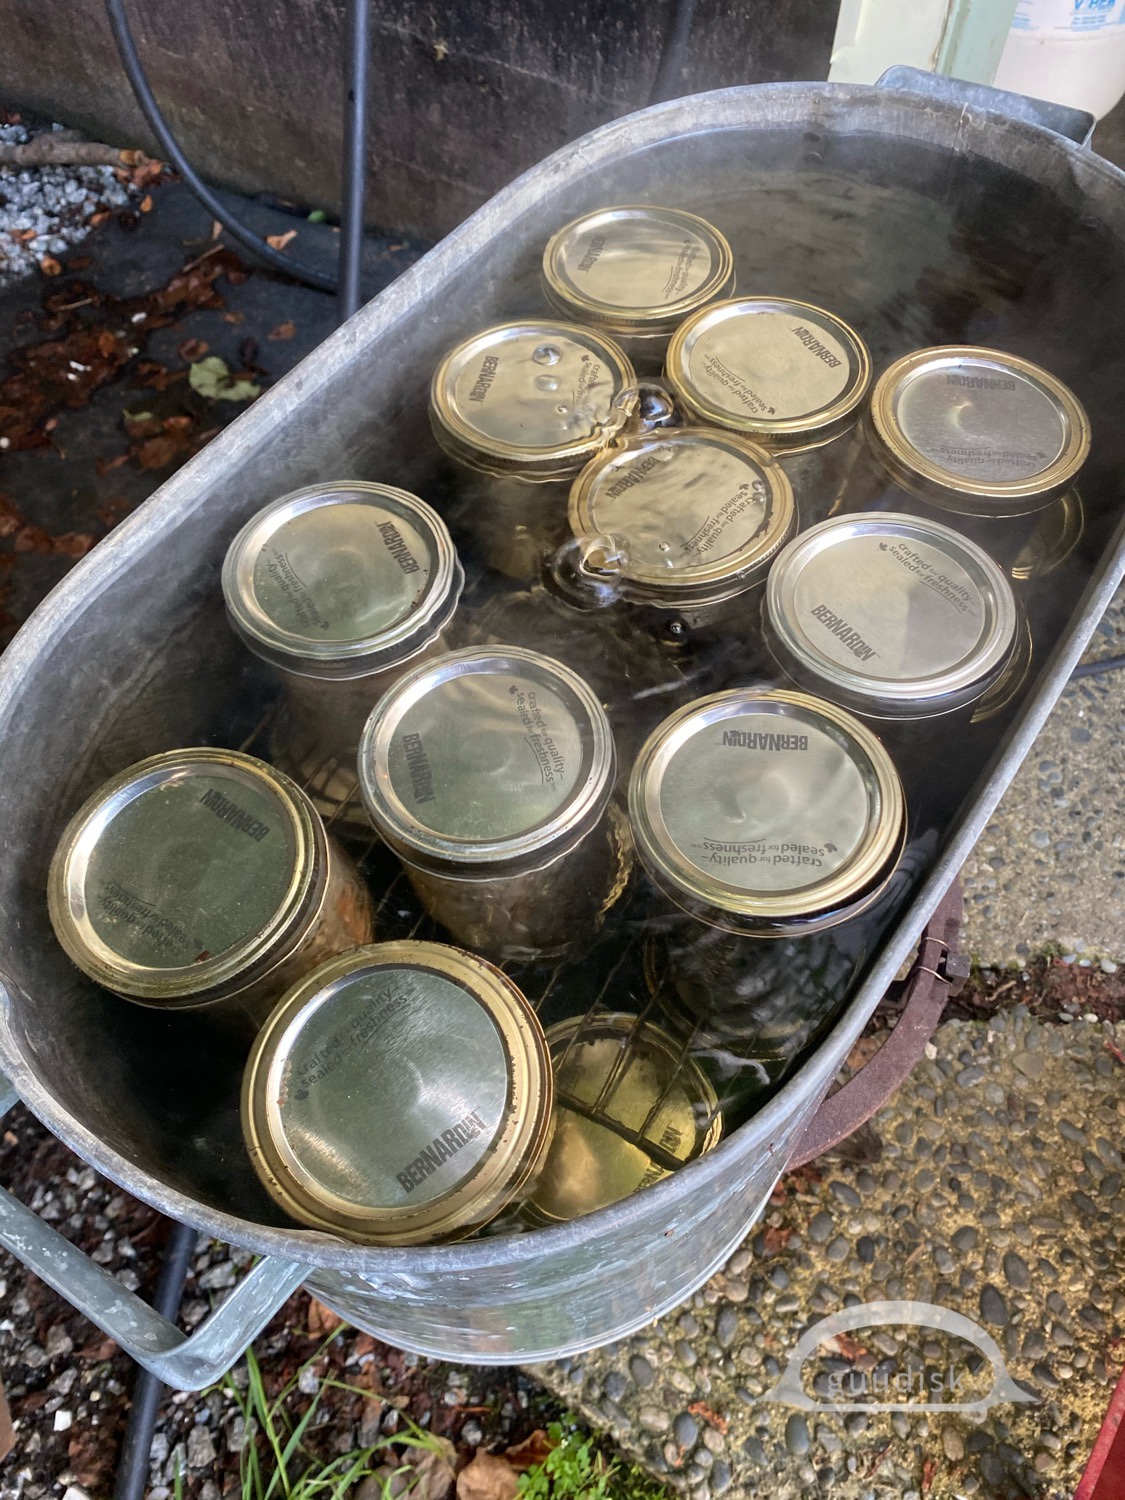
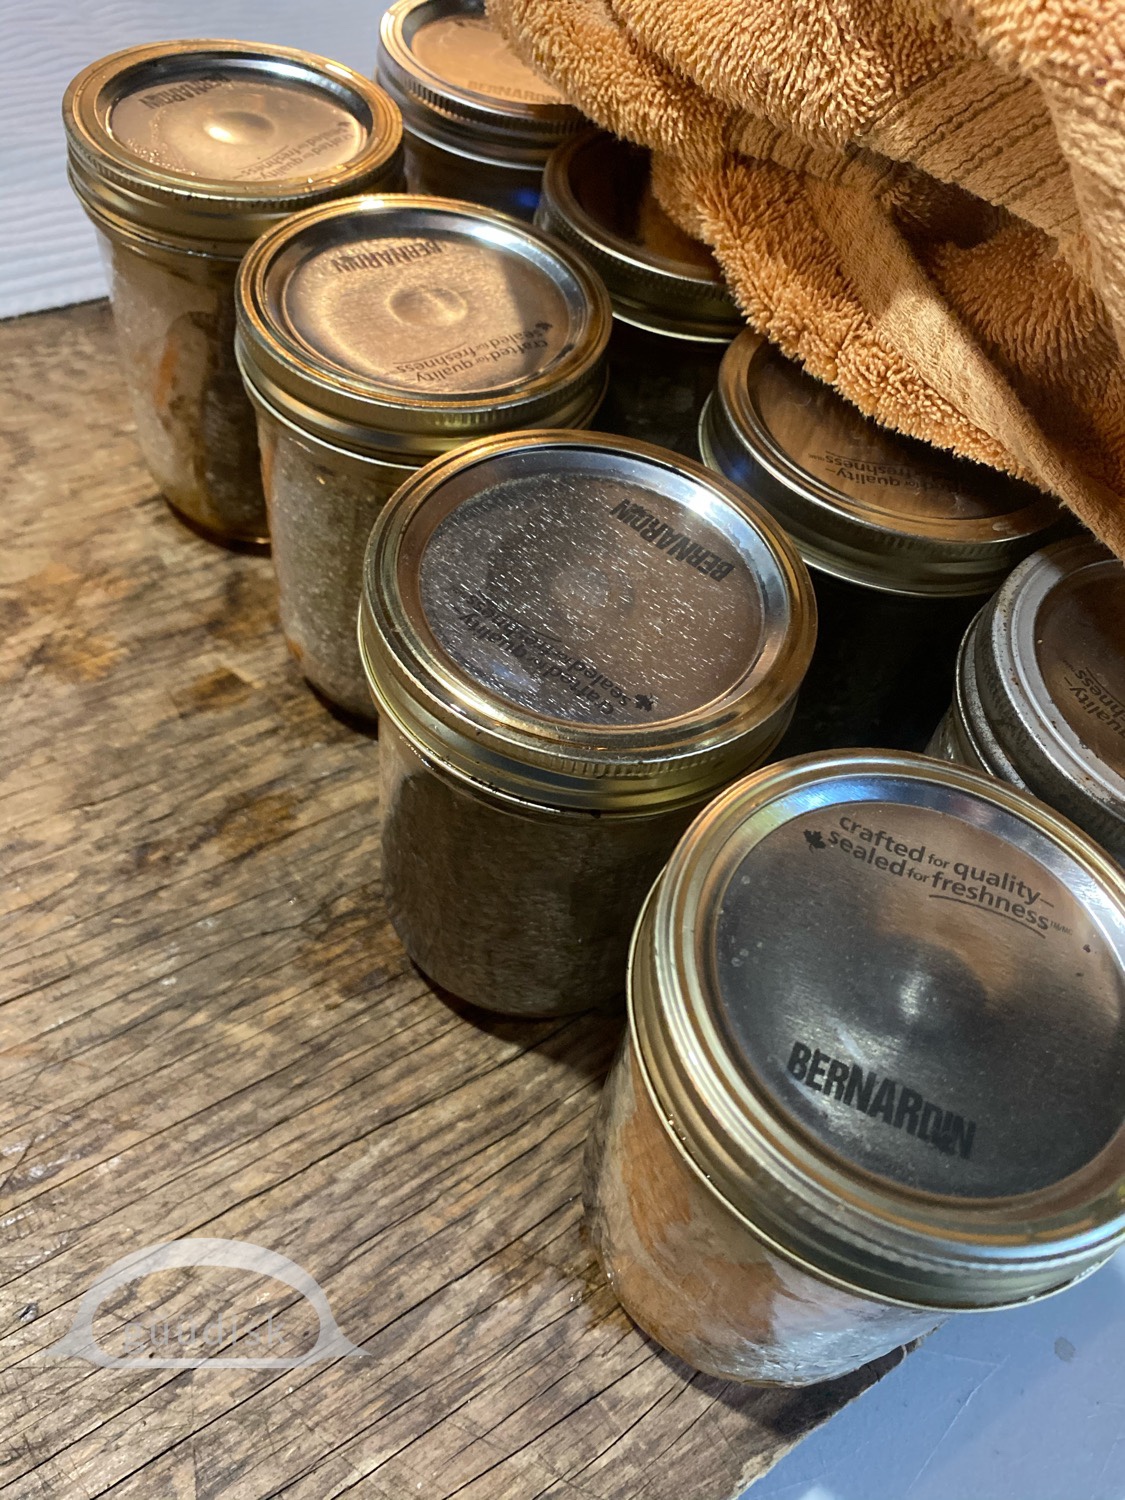
10. Place your jars in the double boiler. Mom places 16 pint jars in a single layer in the double boiler, followed by a second layer of pint jars stacked right on top of that. Fill the double boiler with water so that all the jars are submerged (can use a hose if you’re outside), place on the propane cooker, and bring to a boil. Once it is boiling, time your cook for four hours. Mom cooks her jarred fish on a rolling boil.
My mom doesn’t use racks, but you can use them if you have them.
11. As you’re cooking, check the double boiler every 20-30 minutes, and top up with tap water as needed.
12. Once you’ve cooked your fish for 4 hours, turn off the propane cooker – you can begin to remove your jars from the hot water bath. You can also pick up jar grabbers from the store for this step. Place them on a heat safe cooling area (we cooled them on a large towel or piece of thick plywood). Make sure you wipe the jars dry as they come out of the double boiler – but be careful because they’re super hot.
13. Once your jars are out, drape a towel over top of your jarred fish to allow them to cool slowly.
Things to look out for: make sure your propane cooker is out of the way of the wind. Airflow on the propane cooker will effect the heat on the double boiler. Mom uses the garden hose to top up the double boiler with water, but Steve said when he was growing up – they’d have an entirely separate pot of boiling water to top up the double boiler with.

So the next time someone gives you a case of fish (or even one jar of fish!), just think about how much love and effort and fish went into producing that case.
T’oyaxsut nüün – thank you Mr. Campbell for double checking my spelling for inta hoon nm misoo, and for providing your voice for the audio translations.
S&L – August 2, 2020
I love your story. Your mom, Jennifer, does such a great job jarring fish and is a good teacher too. I am lucky to have her as my friend 🙂
We’re lucky to have you as our friend too, Bernie! ☺️
Very well done Lisa.
Thank you for reading our blog Marisa! ☺️
Lukwil aam dzapsm, very good work everyone, lukwil ts’maatga inta hoon
T’oyaxsut nüün, Sharon! ☺️